
B L O G

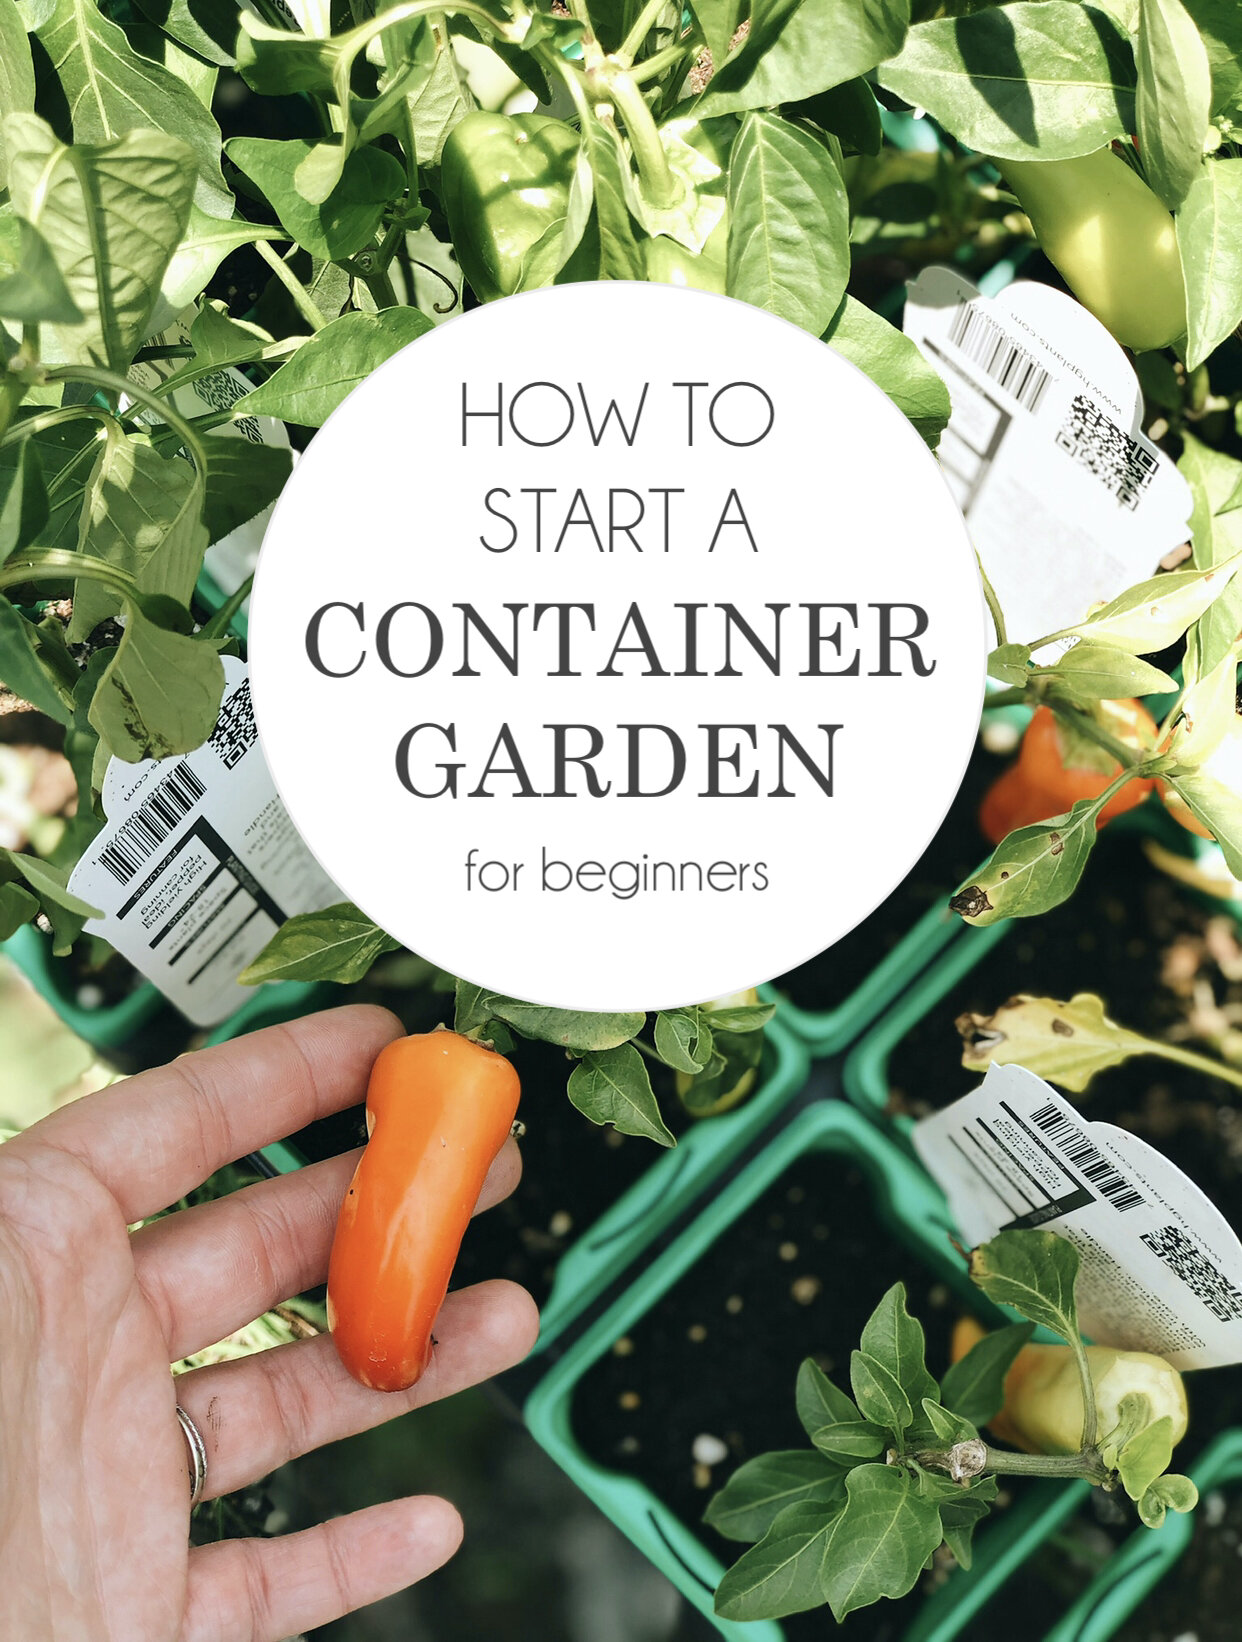
Gardening for a Beginner; All About Containers and Grow Bags
This beautiful weather has us thinking ALL THINGS SPRING, and we’re so excited to get our hands dirty again. But for those of us who have absolutely no clue where to even begin with gardening, remember that we at Garden Valley have got your back. Whether you live in an apartment, are on a budget, or want to go full out this year in your yard, we’re covering 4 types of gardens, how you can start them, and how to keep your flowers and vegetables happy all season long.
This beautiful weather has us thinking ALL THINGS SPRING, and we’re so excited to get our hands dirty again. But for those of us who have absolutely no clue where to even begin with gardening, remember that we at Garden Valley have got your back. Whether you live in an apartment, are on a budget, or want to go full out this year in your yard, we’re covering 4 types of gardens, how you can start them, and how to keep your flowers and vegetables happy all season long.
T Y P E S O F G A R D E N S
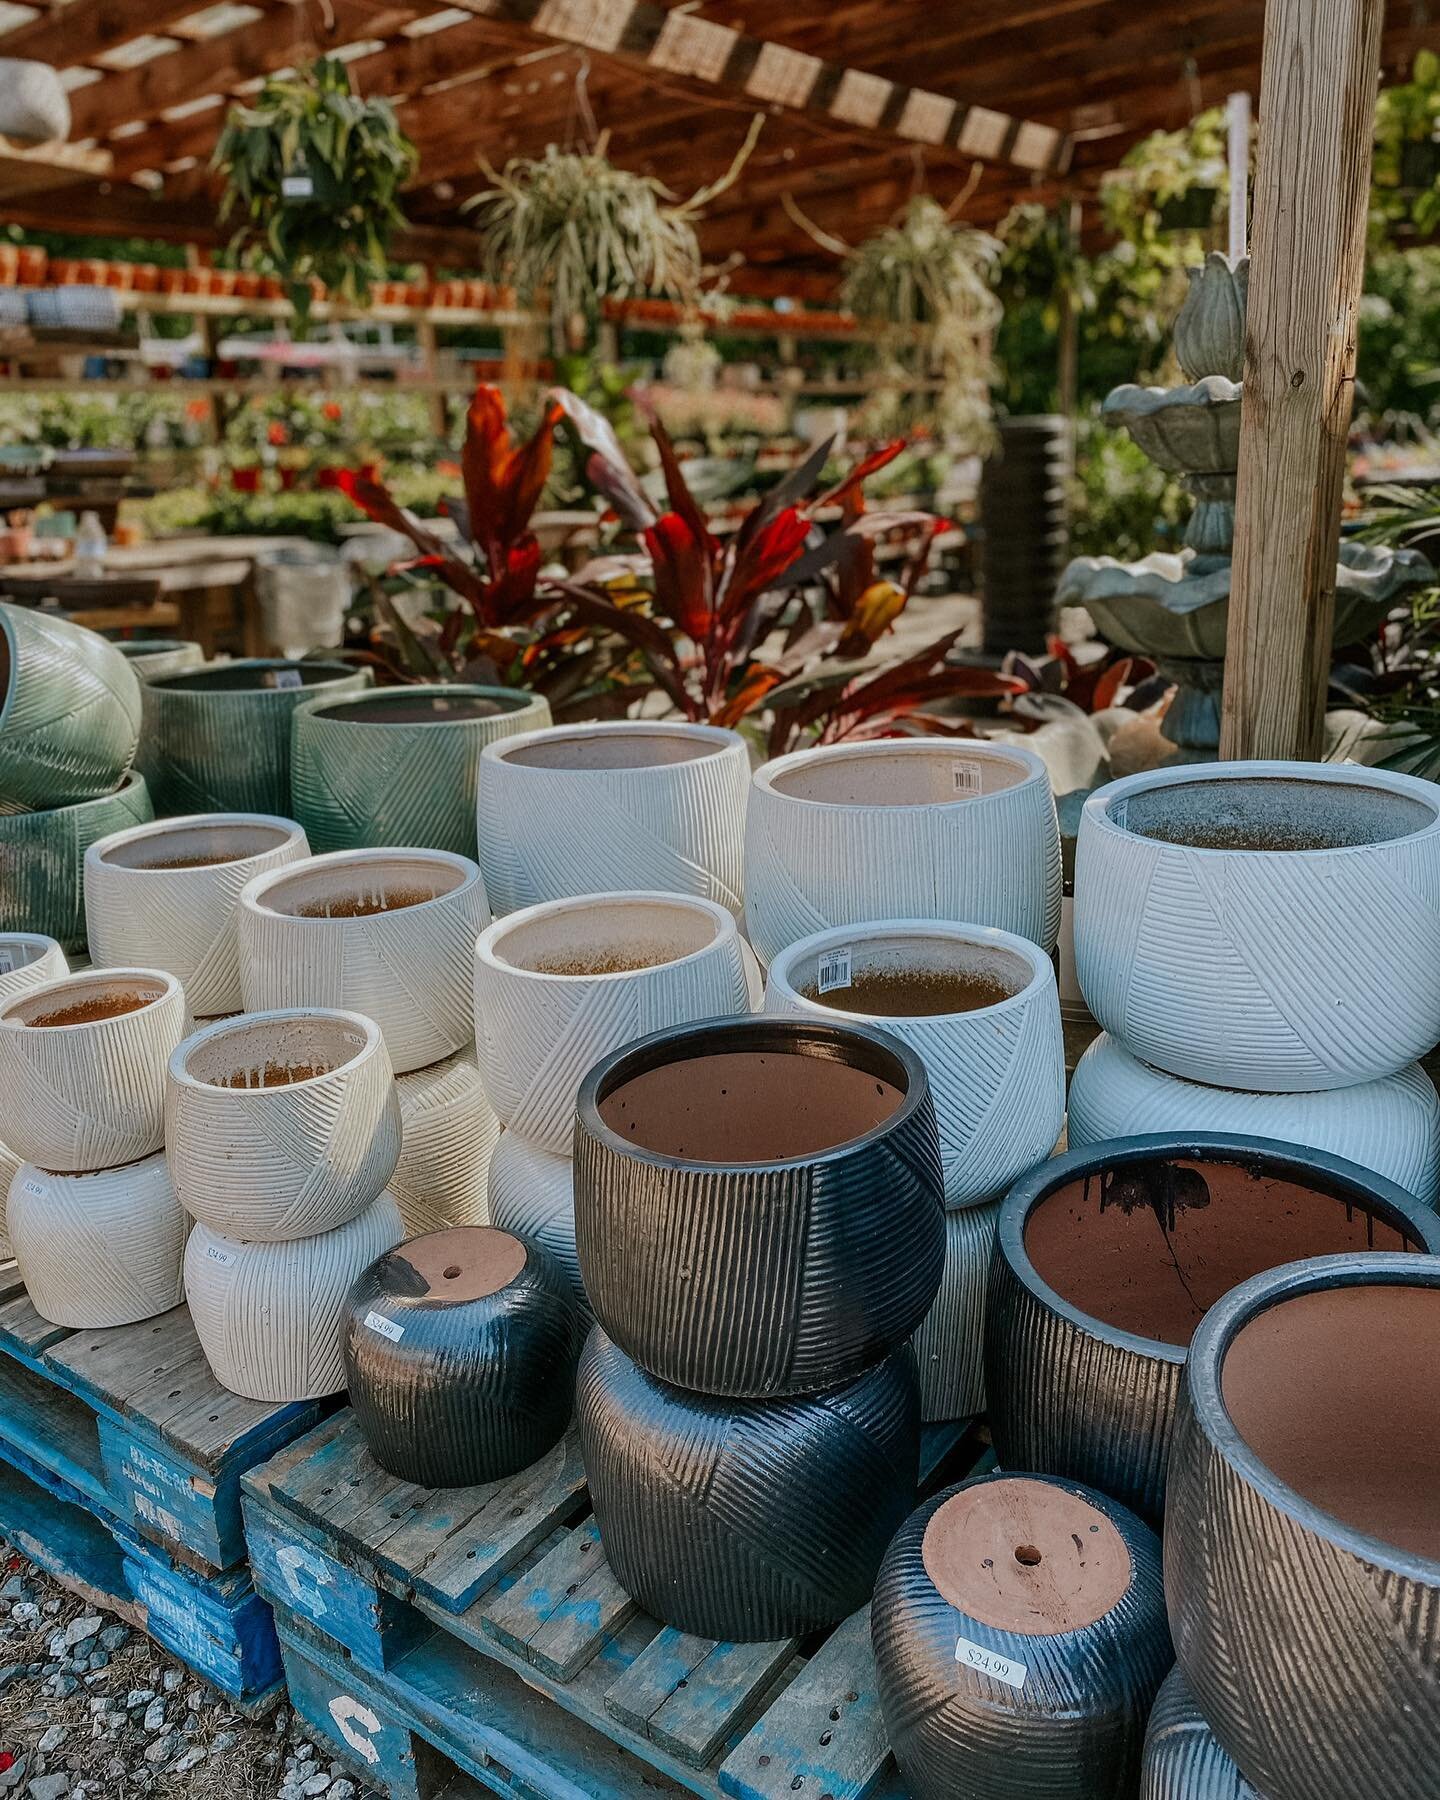
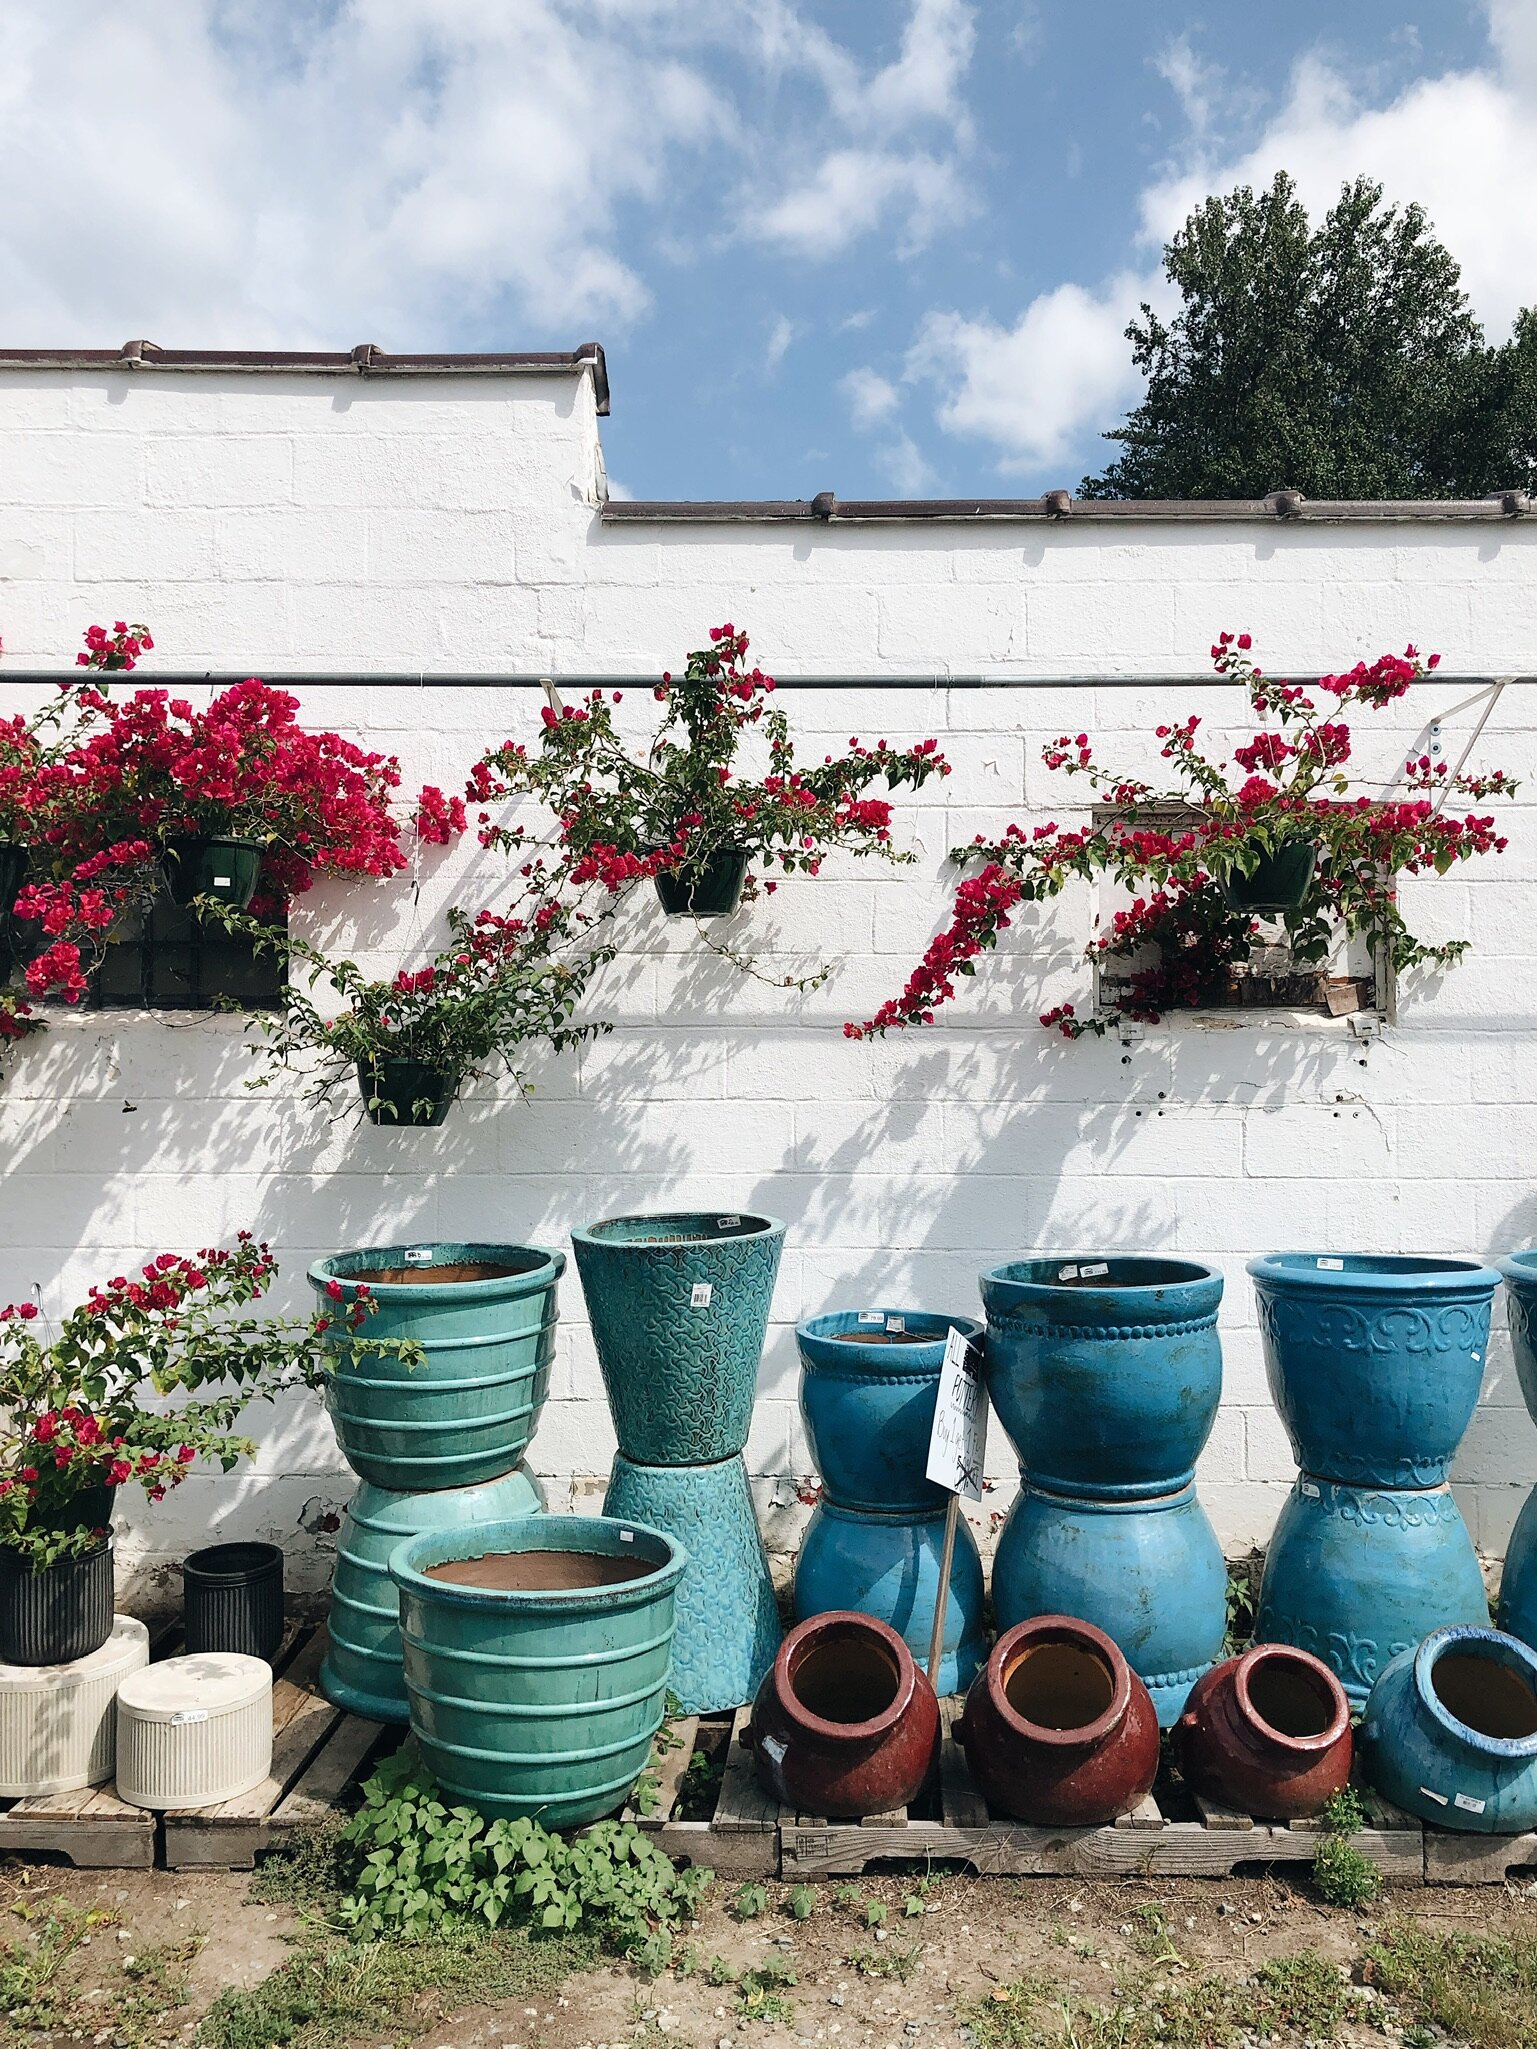
+ Containers/Pots.
Containers are a great option if you live in an apartment, or are just wanting convenient and easy access to what you are growing. Here is a blog that features some great vegetables that grow well in pots. We recommend either using a terra cotta pot or coming by one of our stores and selecting some gorgeous ceramic pots. Our pottery would not only liven the decor of your patio or porch, but will also serve a purpose by growing your delicious vegetables, herbs, or flowers.
+ Grow Bags.
Bags? Who KNEW!? But with a little frugality, anything can be done, right? Grow Bags are one of the cheaper options if you don’t have a ton of room or land to garden, but also don’t have it in your budget to buy pots. They are also great if you just want to repurpose your bags. Have chickens? Reuse those feed bags! Here are some you can also buy online in case you do not have access to any bags.
+Raised Beds.
Raised beds are becoming very popular lately, and there’s a reason why: once built, they help protect your back, provide good drainage for your plants (if done right), allows for better weed control, can build anywhere in your yard, AND you can take them with you if you ever have to move houses.
+In Ground.
Ground gardening is a great option if you simply don’t have the funds to buy a bunch of pine/cedar boards (or the soil to fill it), but have a good amount of land to start digging. All it takes is some good, hard, and rewarding manual labor, and you’ve got yourself a beautiful, traditional garden.
From this point on, this post is going to focus on how to grow container/pot and grow-bag gardens. If you’re wanting to learn about how to grow a raised-bed or in-ground garden, that will be available next week!
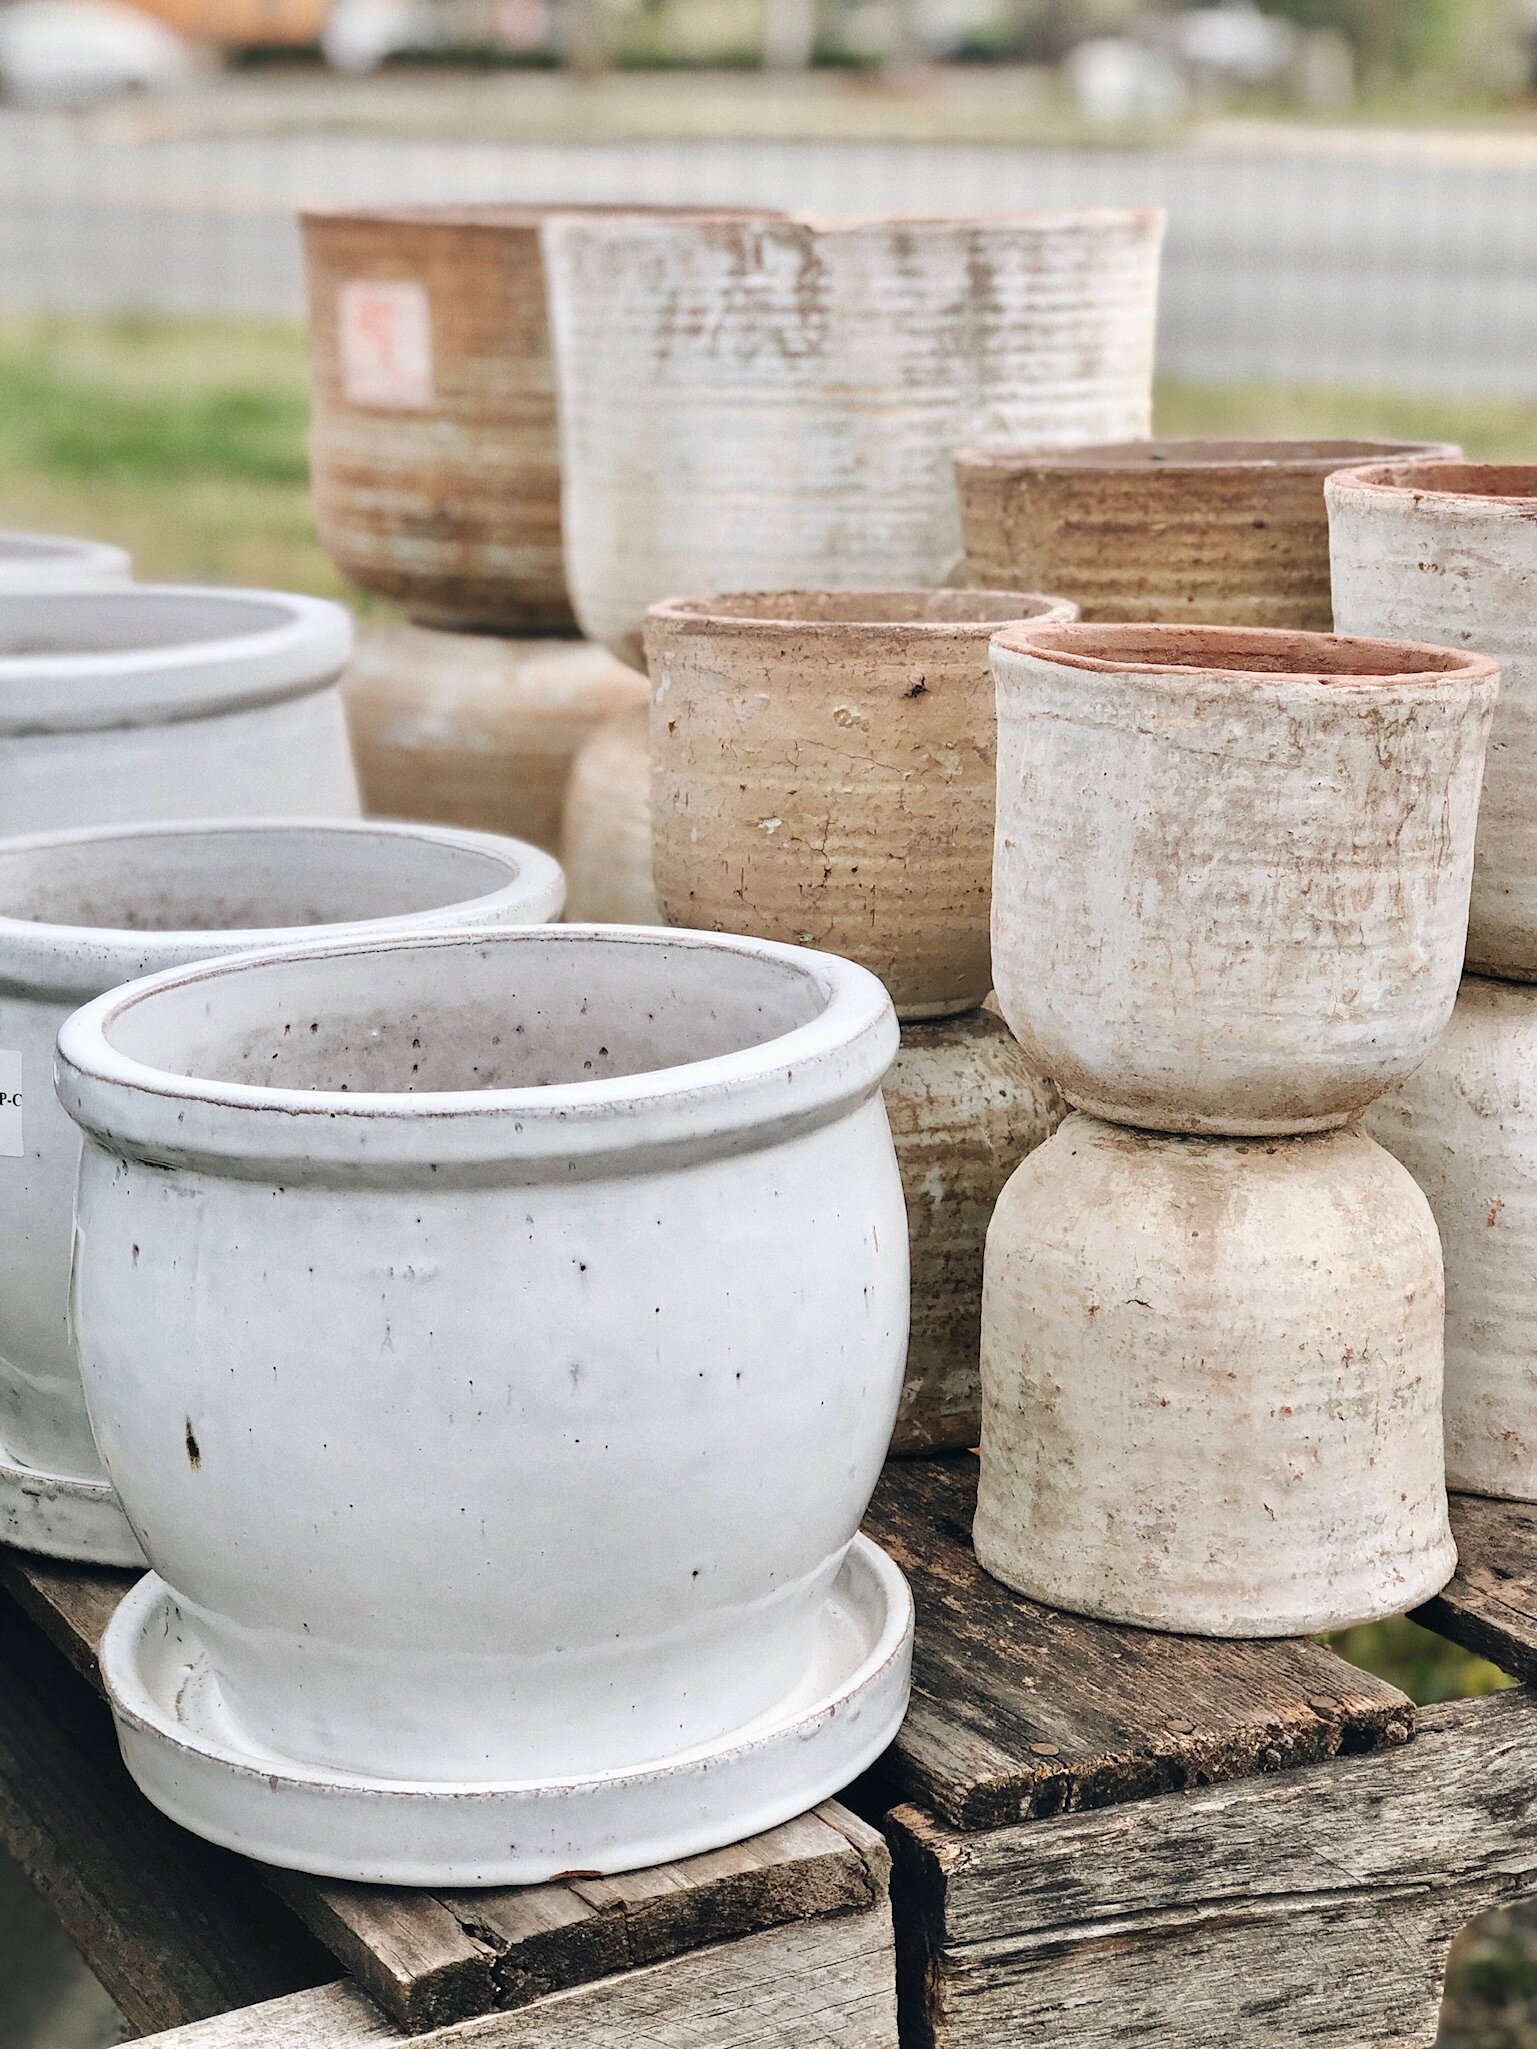

T Y P E S O F C O N T A I N E R S
Ceramic/Concrete- is the most beautiful (in our opinion). Provides great insulation for your plant, which helps to control moisture and temperature for your soil.
Terracotta - has better aeration through the soil.
Metal- traps heat in your soil so be prepared to water very often because of this. (Makes great containers for tropical plants that can withstand heat)
Plastic- is cheaper, lighter in weight, and less watering because of the non-porous material.
Grow Bags- lightweight, great aeration for soil and roots of plant, prevents overwatering and heat build up in soil. All of these things equal up to healthy soil. Also easily storable by folding up for the winter. Because of the amazing aeration in these containers, the plants do not feel suffocated and will not “die off” as easily as they would in other containers.
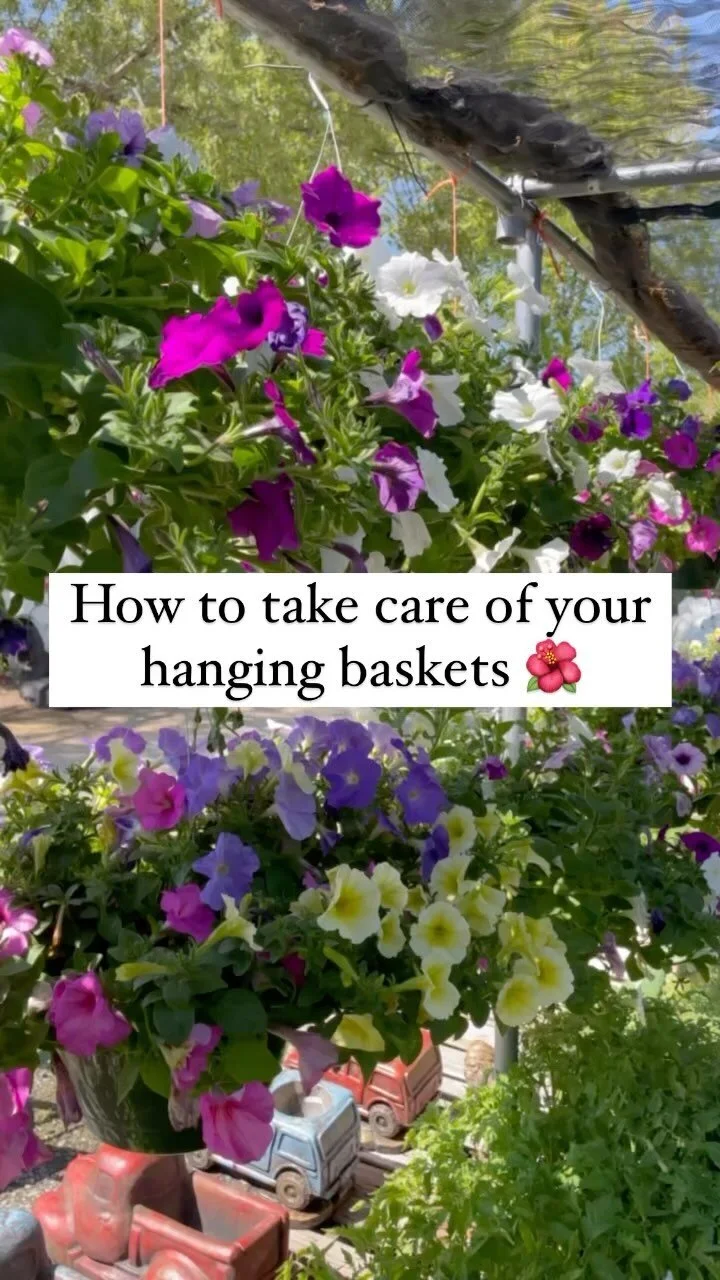
W H E R E T O G R O W
One of the strengths of growing your vegetables and flowers in a container/bag is that you can move it ANYWHERE you want. Whether inside or outside, place your plant wherever it’s light needs will be met. With vegetables like tomatoes, cucumbers, or squash/zucchini you will need a space FULL sun, which is 6 or more hours of sunlight. But if you have a patio that has less sunlight exposure than 6 hours, maybe try growing broccoli, carrots, or cabbage.
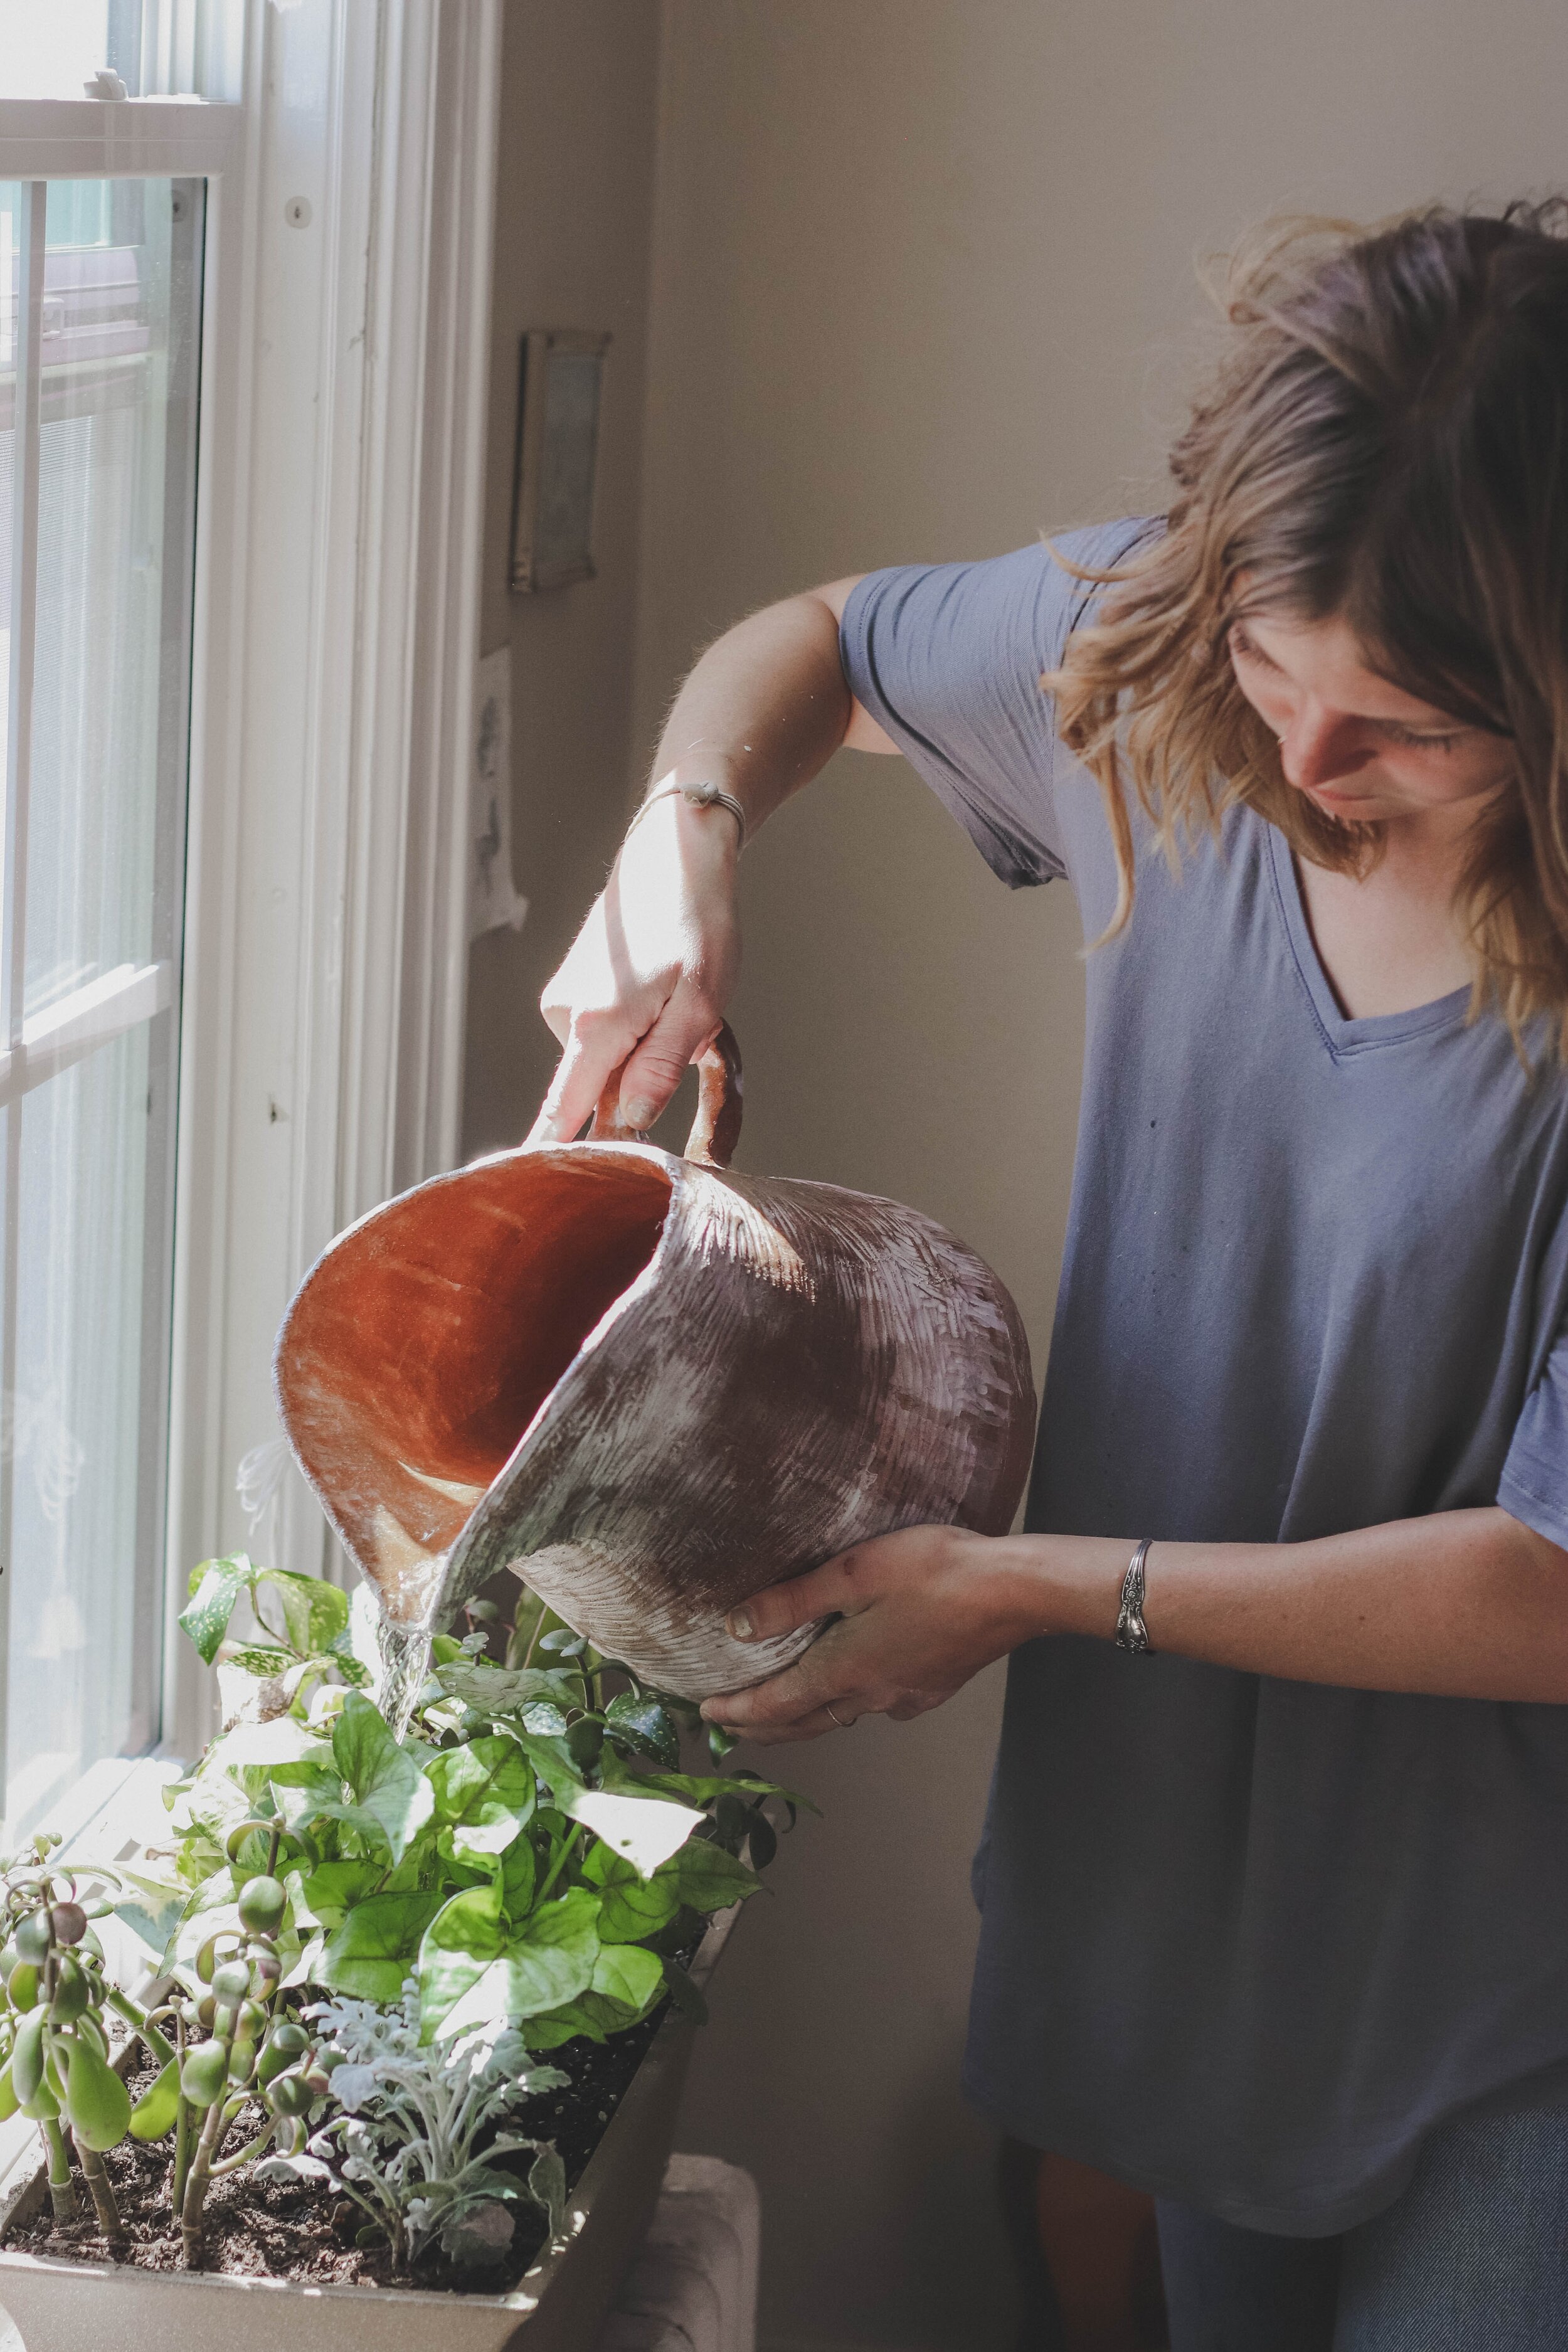
W A T E R I N G
Drainage. With all container gardens, you want to make sure you have proper drainage for your plant. Otherwise, your plant may “drown” and cause root rot, leaving you with a VERY unhappy plant that provides no flower, fruit, or vegetable for your eyes or stomach to enjoy.
You can improve drainage in your containers by adding a layer of gravel to the bottom of your pot/container. If you don’t have access to gravel, you can use crushed up water bottles.
Containers
When watering your containers, continue watering until it seeps through the bottom of the pot/bag. Depending on your plant’s needs, you may need to either keep the soil moist by watering twice a day, or keep the soil more dry. Make sure to check your plant’s needs before throwing away the information tag!
Grow bags
When watering grow bags, since they are so porous, it might be best to put a container underneath them to fill with water, that way the roots are able to “suck up”’ the water, instead of the reverse where it drains out of the pot and is gone forever.
S O I L
The type of soil you use in your container might not seem like a big deal, but trust us, it is. Pick out a good quality potting soil that’s made for containers, as a garden soil is much too heavy for a pot. Why? Because potting soil is usually already mixed with sand, verlite, vermiculite, peat moss, and pebbles to allow for better water drainage. Whereas, a garden soil is pure topsoil and much too dense for the drainage of water.
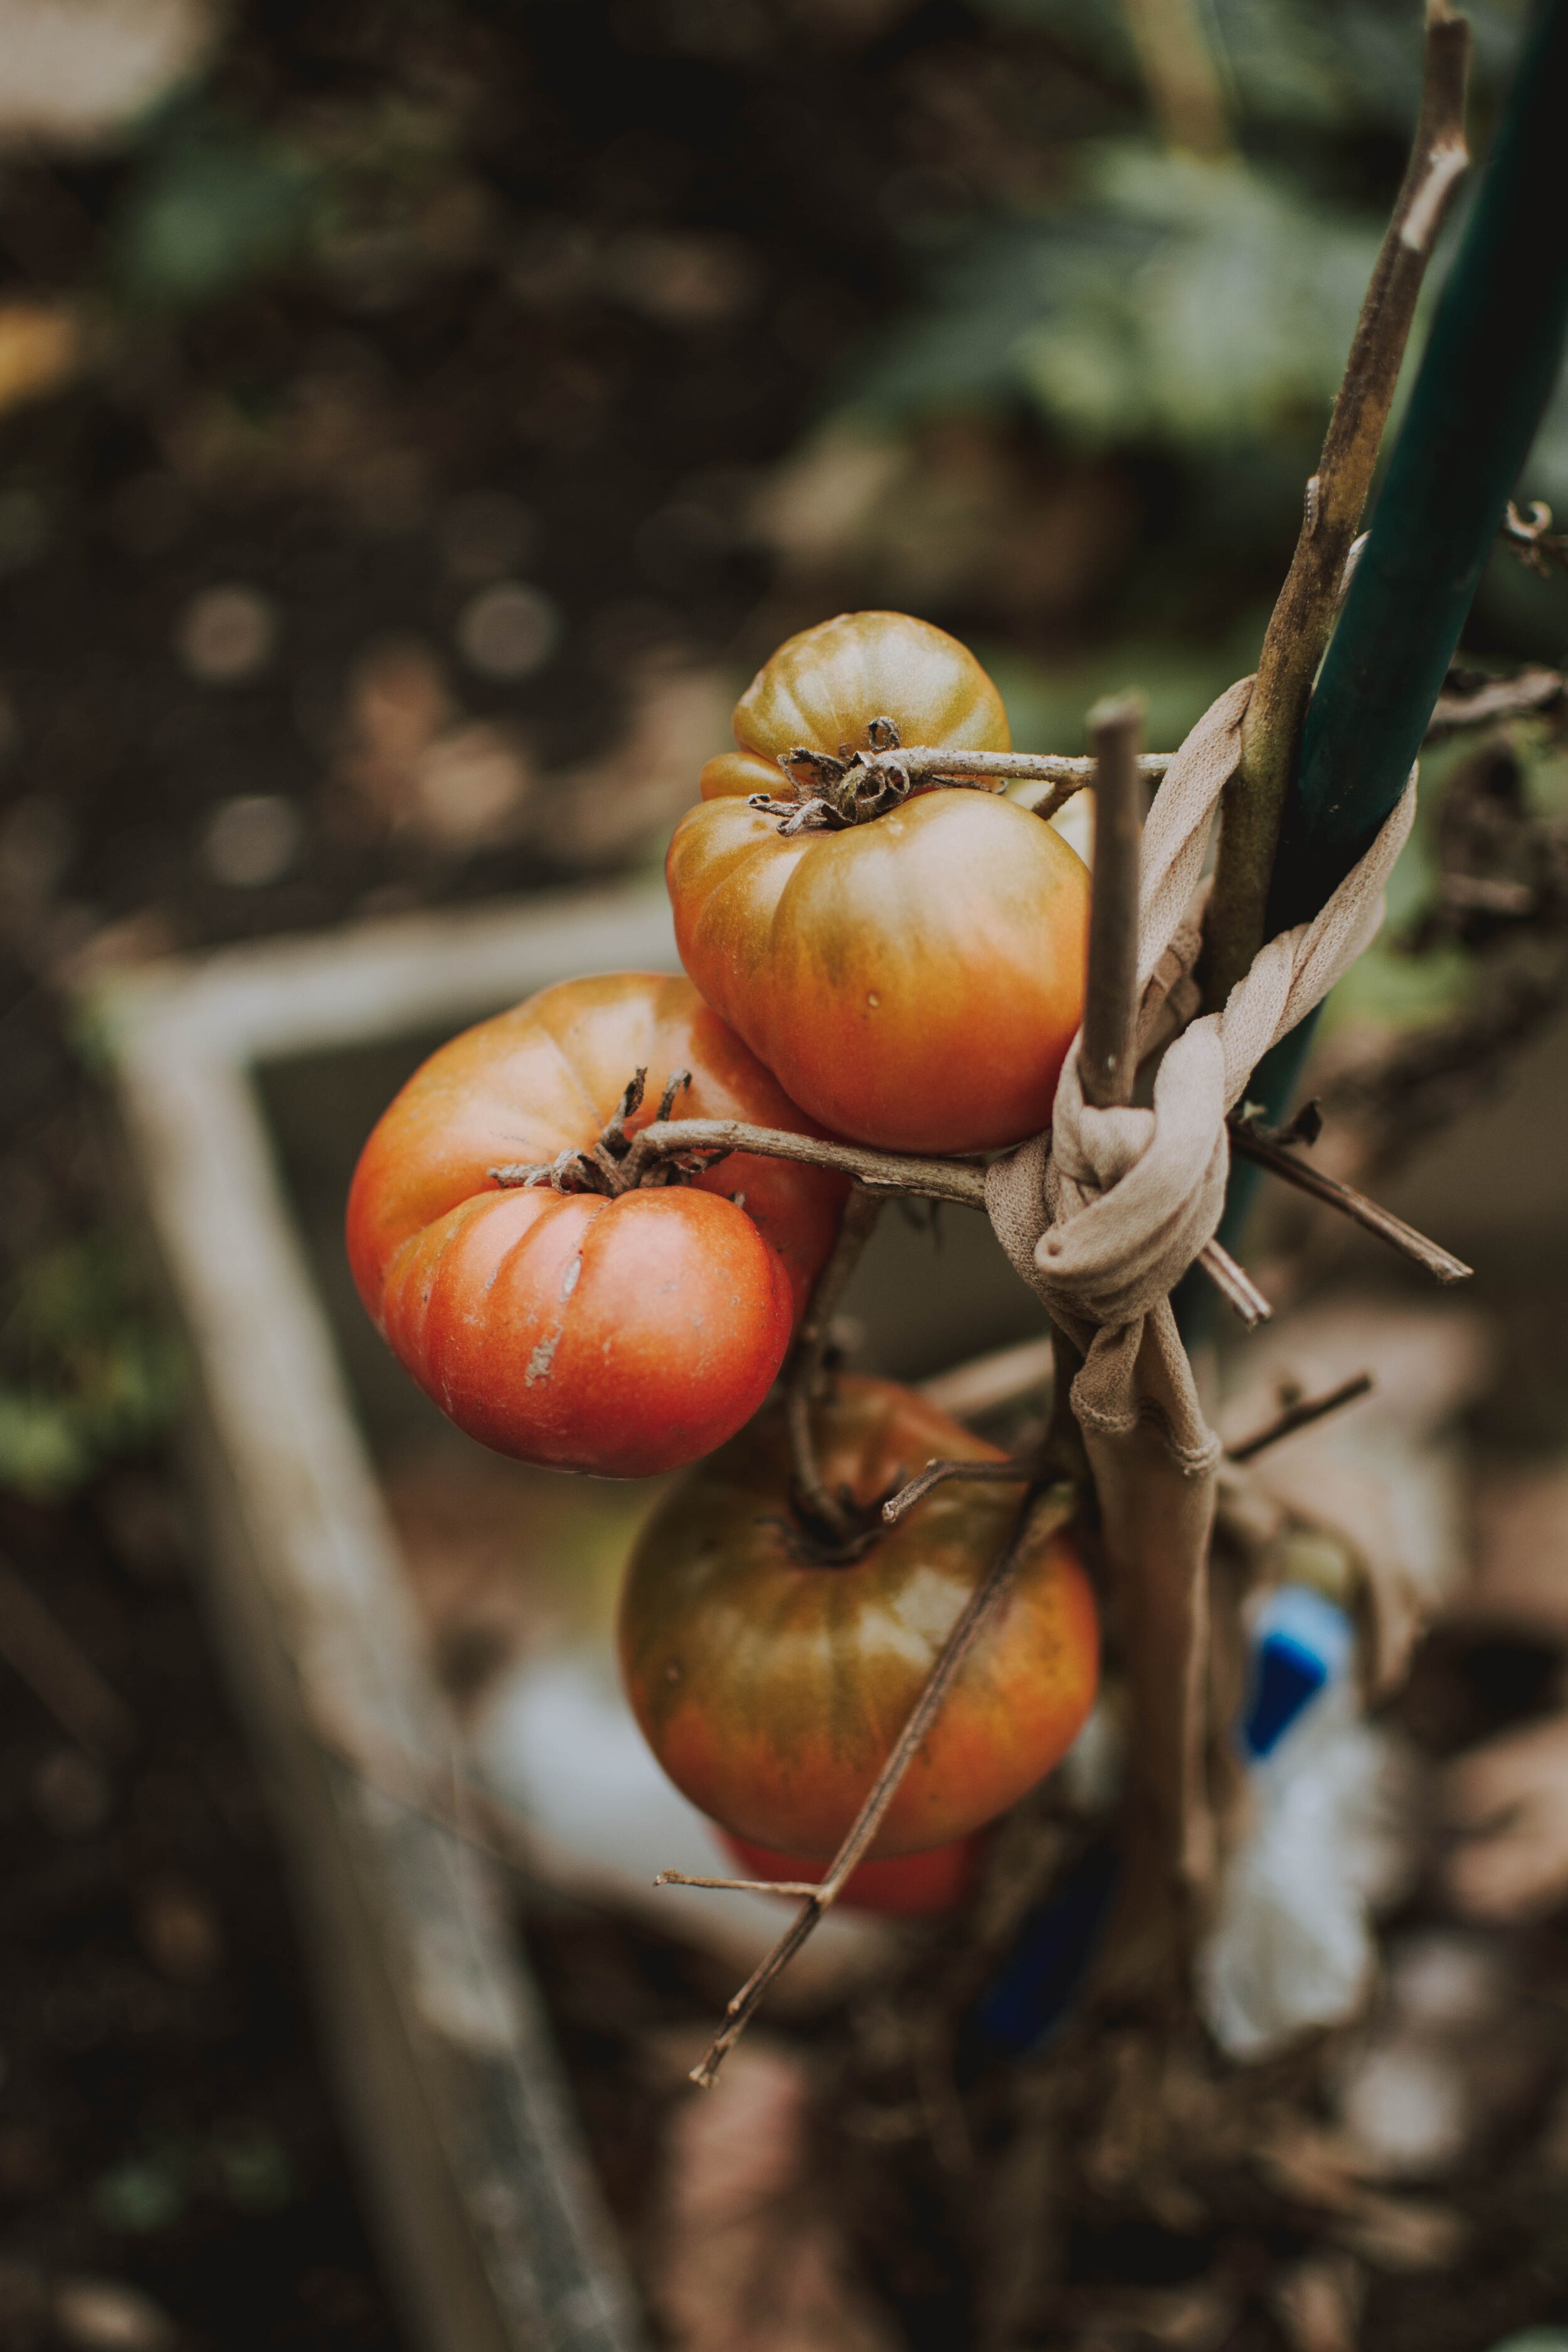
S U P P O R T
Surprise, surprise, surprise, your plant is growing! YAY! But don’t sabotage it by not providing it with enough support. Plants that climb and grow up like tomatoes need support to hold them up. This helps not only keep the fruits from touching the ground, but allows for better sunlight and aeration to reach through the plant.
You can support your plant by building a “teepee” with some cane sticks and just tie the main branches to the cane as it grows.
F E R T I L I Z E
In order to keep your vegetables/flowers happy in your containers, they are going to need some more help than if they were planted in the ground. Be sure to fertilize with an organic fertilizer about twice a month in order to keep your plants happy and healthy all season long.
G E T T I N G S T A R T E D
Before starting, decide what you want to plant. For example, if you’re wanting to plant vegetables/fruit, ask yourself what you enjoy eating. What foods are sometimes expensive in the grocery store but you think would grow well in your container? Try those out and see how amazing gardening for yourself can actually be! Also, a good rule of thumb for the size of your container- the larger the plant, the larger the container needed. So make sure the container will be WIDE enough for the plant and DEEP enough for the roots of the mature plant.

WHEN STARTING WITH SEEDS
This process takes more time to see the “fruits” of your labour, but you are able to have more of a variety in which plant you actually want, because your local garden center may not have access to those starters. But always be sure to check with your garden center, aka Garden Valley for those of you local to the Triad of North Carolina. You can also check out this post we released last year on why we think shopping and supporting local is important.
When starting with seeds, vegetables will generally need to be propagated into seedlings before they are placed into your pot. You can reuse some old plastic containers that you’ve used for food like yogurt containers, egg shells, citrus peels, . Plastic is preferable in the instance because it retains moisture much better than a clay pot. Whatever container you do use, make sure it is clean and that you poke holes into the bottom to allow for drainage.
WHEN STARTING WITH STARTERS
With starters, the process is shortened and there is a better likelihood that your plant will survive. And we have plenty of starters vegetables and flowers to choose from at Garden Valley!
HOW TO GET IT STARTED
1. Add a layer of gravel to the bottom of your pot.
2. Fill pot with quality potting mix until you’ve reached level where the bottom of plant’s roots will land and water until soil is moist.
3. Place plant/s in soil and surround the plant with the rest of your potting mix.
4. Top with a layer of compost and water until it drains through the bottom of the pot.
We can’t wait to see what you will do this year! Don’t forget to tag us on our social
media so we can see how amazing your gardens look!
Thank you so much for joining us here. For more information on what Garden Valley Farmers Market is about, you can visit us here. If you’re wanting to visit with us, come by any of our five North Carolina locations. If you’re wanting to follow along with us, you can do so either on our Facebook, Youtube, or our Instagram. And if you’re wanting to check out our other recipes and blog posts, or are needing more inspiration, follow us on our Pinterest. We’d love to have you join us in our journey of planting better, eating better, and living better.
Much love,
Your Garden Valley Farmers Market Team

7 Foods You Can Throw In Your Garden
It’s almost time for us to start planting in our spring gardens. Along with that, did you know that you can throw certain foods in your garden to help things get a head start? Well, you can, and we’ve put together 7 foods that are beneficial to your garden.
It’s almost time for us to start planting in our spring gardens. Along with that, did you know that you can throw certain foods in your garden to help things get a head start? Well, you can, and we’ve put together 7 foods that are beneficial to your garden and compost bins.

1. Banana Peels: Banana peels provide a great source of potassium. Potassium helps your plant distribute water and nutrients, helping your plant grow strong roots. You can use your banana peels by either adding them to your compost pile, brewing them into a tea, or letting them ferment in your garden over time.
2. Bread and Cereal: Stale bread and cereal can be added to your compost pile or your garden soil to help feed any crawlers that are beneficial to your soil.
3. Egg Shells: Egg shells make a great natural fertilizer for your garden by providing a great source of Calcium. Calcium is responsible for building the cell walls of the plant, so it’s a vital nutrient for a thriving plant. They also have been known to deter the occasional slug or two. You can also use egg shells for plants that are prone to blossom end rot, as this can be caused by a lack of calcium.

4. Citrus Peels: Citrus peels provide your soil with Nitrogen, Potassium, and Phosphorus. And to speed up the decomposition process in your garden, you can break apart the peels. Citrus peels will also be a delicious treat that will keep the butterflies and bumblebees coming back to your garden.
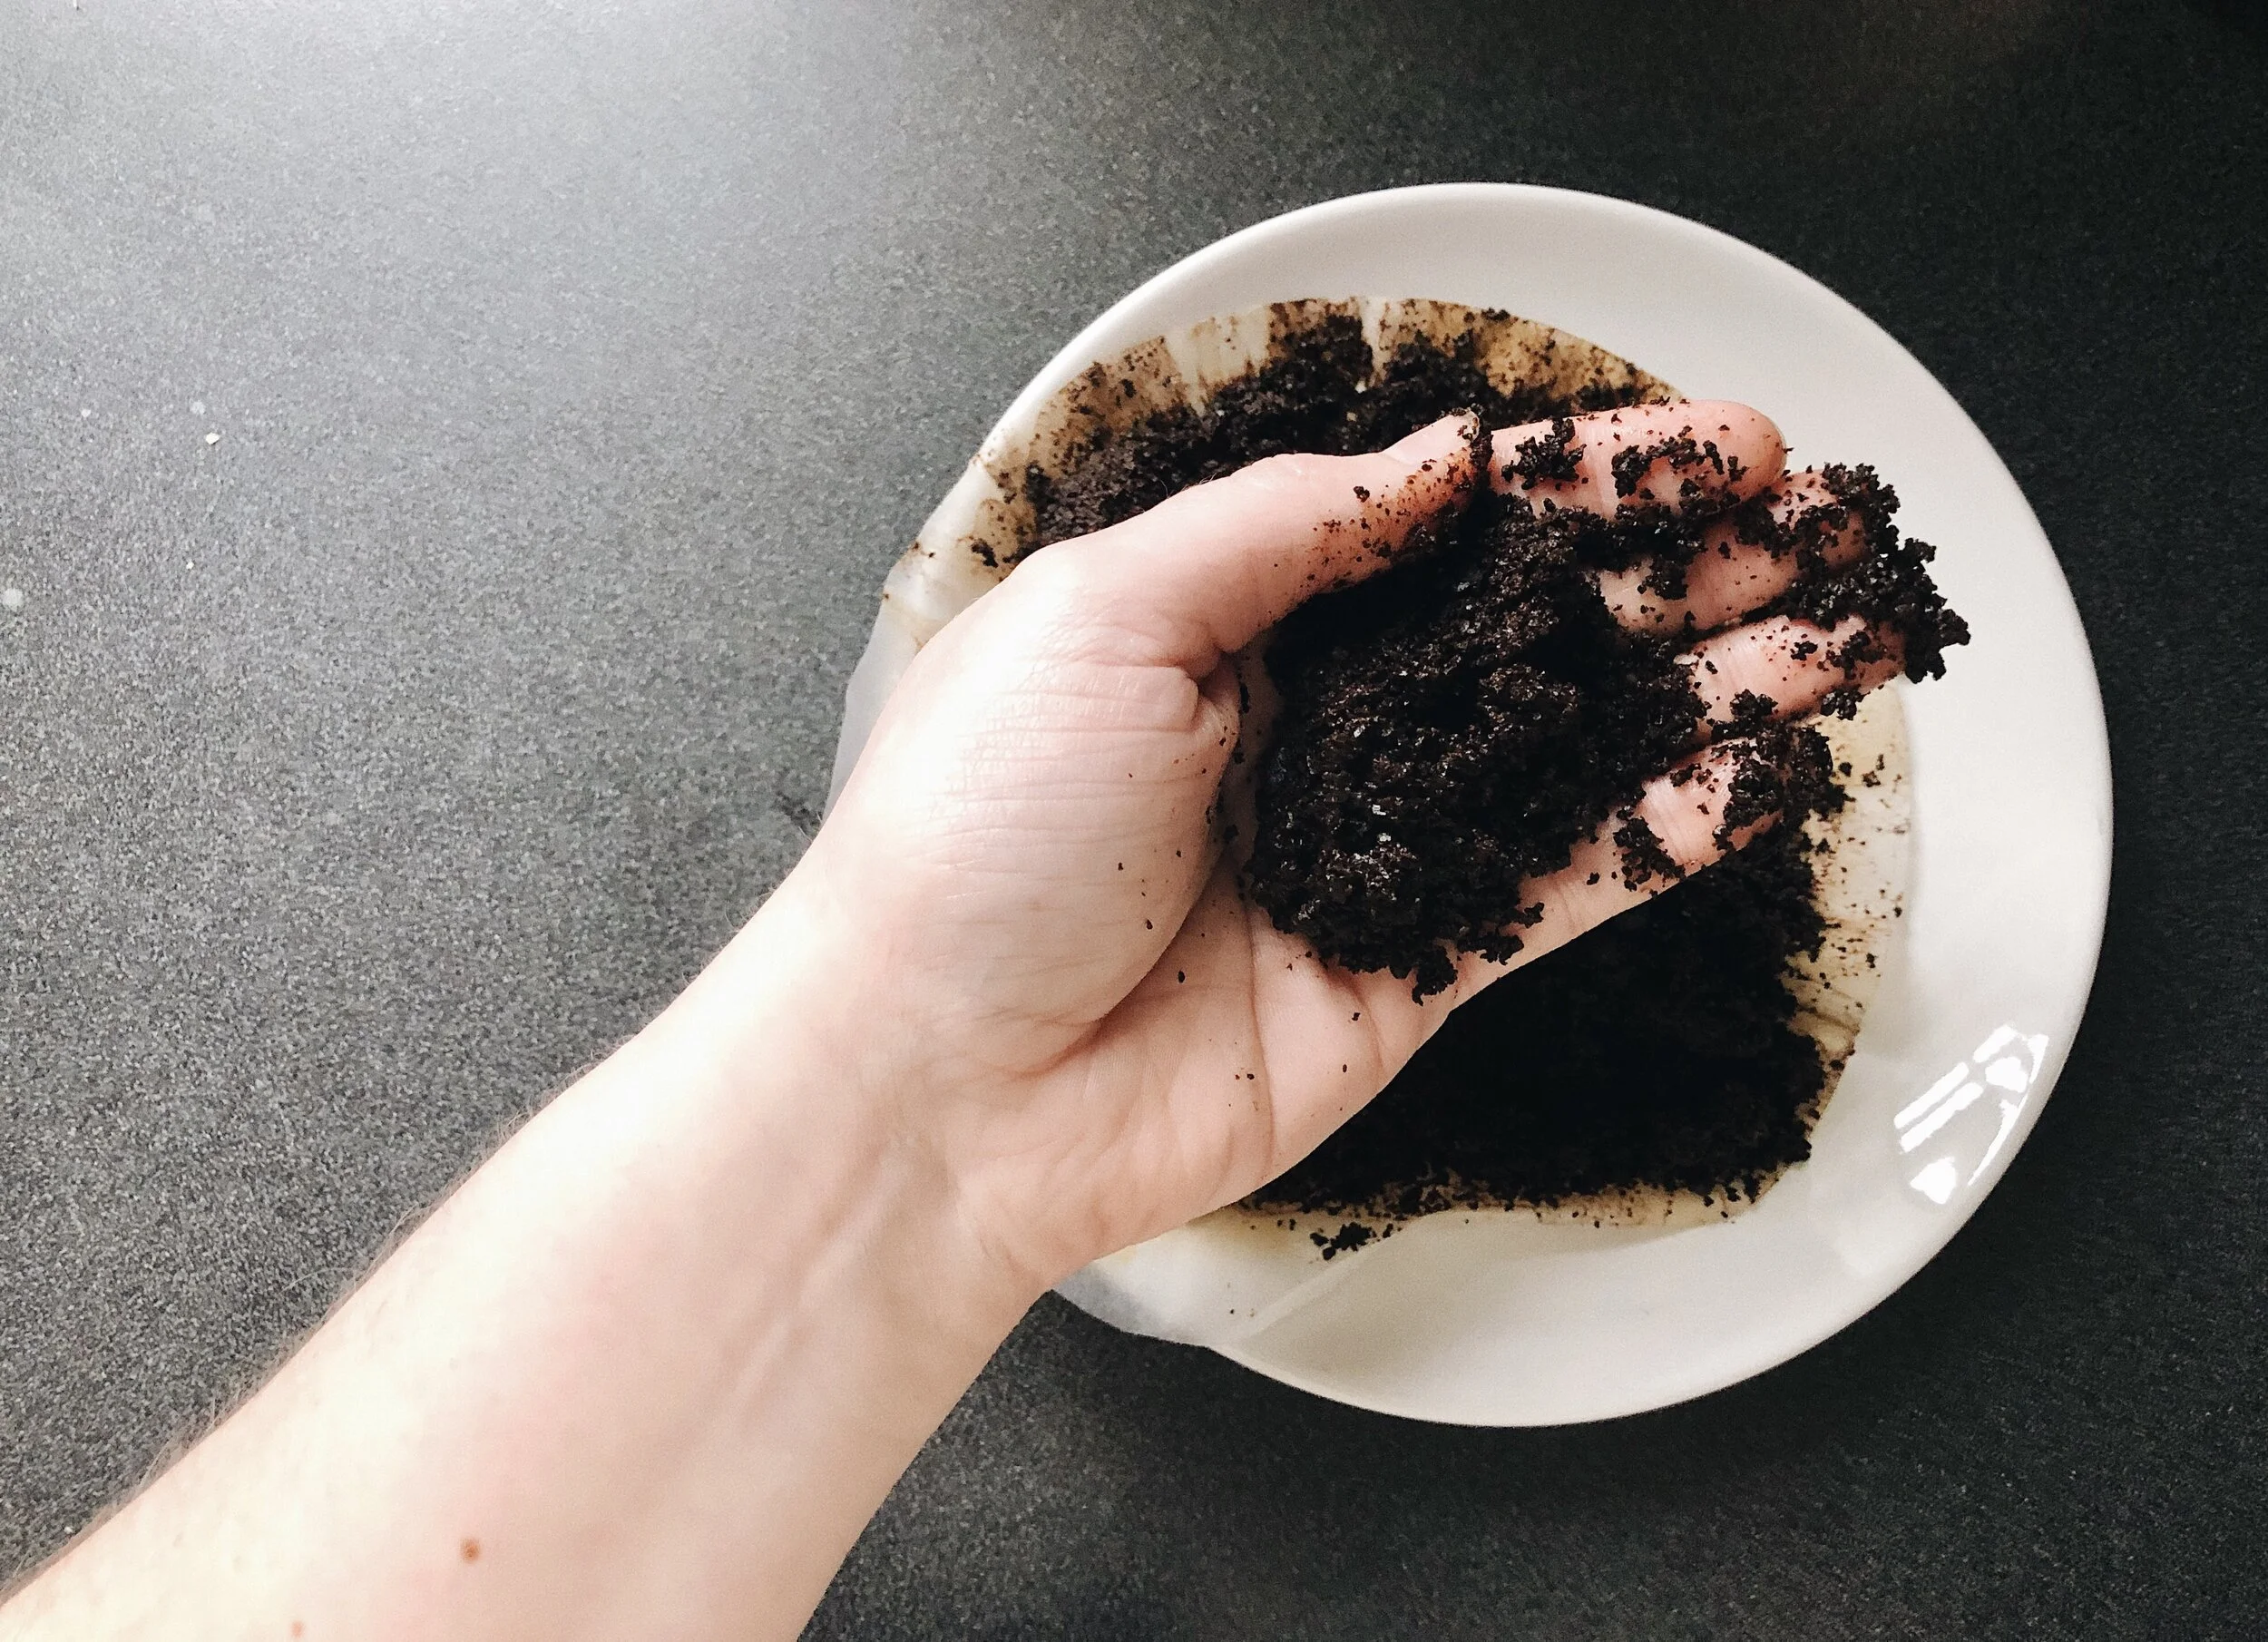
5. Coffee Grounds: Used coffee grounds are very high in acidity, and are great for the acid loving plants like blueberries, hydrangeas, camellias, and azaleas.
6. Herbs and Spices: Don’t just throw your expired herbs and spices away! They can help to deter pests and help to fight fungus. Try sprinkling expired cayenne pepper around your bulbs and soil to deter any unwanted animals. Or try sprinkling pepper to deter ants. Cinnamon is also a great way to fight fungus in your indoor plants.
7. Tea: Used tea helps to increase drainage in your soil, retain moisture, encourage earthworms, and increase oxygen levels. Just open up your bags and pour into your soil or compost bin.

Thank you so much for joining us here. For more information on what Garden Valley Farmers Market is about, you can visit us here. If you’re wanting to visit with us, come by any of our five North Carolina locations. If you’re wanting to follow along with us, you can do so either on our Facebook, Youtube, or our Instagram. And if you’re wanting to check out our other recipes and blog posts, or are needing more inspiration, follow us on our Pinterest. We’d love to have you join us in our journey of planting better, eating better, and living better.
Much love,
Your Garden Valley Farmers Market Team

Herb Infused Olive Oil
Want a super easy DIY to satisfy your cravings until Spring comes? Well, we’ve got the perfect solution for you: Herb Infused Olive Oil. You’re welcome. This oil recipe makes the perfect gift, is super easy to make (but looks like it’s not), and will bring so much flavor to your next dinner.
Want a super easy DIY to satisfy your cravings until Spring comes? Well, we’ve got the perfect solution for you: Herb Infused Olive Oil. You’re welcome. This oil recipe makes the perfect gift, is super easy to make (but looks like it’s not), and will bring so much flavor to your next dinner.

IMPORTANT: you want to make sure that you choose a high quality olive oil, as this is the main ingredient. Second, you want to make sure that you’ve prepared for everything to be completely dry- bottles, utensils, herbs, etc. If not, mold can settle, and that’s no bueno for your recipe.

You can use any herbs for this recipe that you want, and can even mix them, but for this recipe we will be using Rosemary. If you are using fresh herbs from your garden or pots, remember to dehydrate them before beginning. See below on how to do that. If you don’t have access to fresh herbs, you can always buy dried herbs from the store. But remember that we open up soon, and will have ALL the fresh smelling herbs ready for you!
Dehydrating your herbs:
Cut your herbs to the size you want them in the bottle
Wash any dirt off, then dry them with a paper towel
Line a baking sheet with parchment paper and place your sprigs on it
Set oven on lowest temperature and “cook” for about 1 ½ to 2 hours

How to Make Rosemary Infused Olive Oil
Add about 2 cups of your olive oil together with about 3 to 5 sprigs of Rosemary into your pot. Then heat over a medium temperature for about 5 minutes. Remove from heat and let your oil cool. Once your oil has cooled down, you can strain and store in a jar that allows you to close the lid tightly. You can even add a few sprigs of Rosemary to your jar for a pretty aesthetic. This oil will last for about 3 months and needs to be stored in the refrigerator, but with how easy it is to make, you’re probably going to be making more very soon anyways.

Rosemary Infused Olive Oil
Total time: 10 minutes
INGREDIENTS
2 Cups Olive Oil
5 Rosemary Sprigs
DIRECTIONS
1. Combine your oil and Rosemary sprigs into a pot
2. Heat over medium heat for about 5 minutes
3. Remove from heat and let cool
4. Strain oil into a jar with a tightly closed lid
5. Store in refrigerator for up to 3 months
Rosemary is a great herb that lasts all year long in central NC, so don’t forget to pick up one for yourself when we open, which will be VERY soon.

Thank you so much for joining us here. For more information on what Garden Valley Farmers Market is about, you can visit us here. If you’re wanting to visit with us, come by any of our five North Carolina locations. If you’re wanting to follow along with us, you can do so either on our Facebook, Youtube, or our Instagram. And if you’re wanting to check out our other recipes and blog posts, or are needing more inspiration, follow us on our Pinterest. We’d love to have you join us in our journey of planting better, eating better, and living better.
Much love,
Your Garden Valley Farmers Market Team

5 Steps To Preparing Your Garden For Spring
With Spring fast approaching, we’re wanting to set you up for success this planting season. And when our mom’s taught us to be prepared, we took it to heart. That’s why we’re passing along these 5 steps for you before you start planting your flowers and vegetables this year.
With Spring fast approaching, we’re wanting to set you up for success this planting season. We desire to start fresh every year, and we want you to join that journey with us too. That’s why we’re passing along these 5 steps for you before you start planting your flowers and vegetables this year.
5 Steps To Preparing Your Garden For Spring
Clean up. Winter can bring a lot of harsh elements to your land. Broken off branches, leaves left over from the fall, and whatever the winds and animals may have tracked in. Now is the time to inspect your garden and clean up whatever winter may have brought.
Check garden tools. Carefully inspect your tools and see what needs to be tossed or cleaned. Clean your tools with some warm water and soap and start fresh this spring. Also check to see if something is damaged. Toss it if it’s irreparable, because there’s nothing more annoying than when you’re getting ready to work in your garden but can’t because the tools are broken.
Check barriers. Inspect your fencing, trellises, tomato cages, and any other barriers you will be using in or around your garden. Check for rotting wood, damage, or any other imperfections that might hinder your gardening this year.
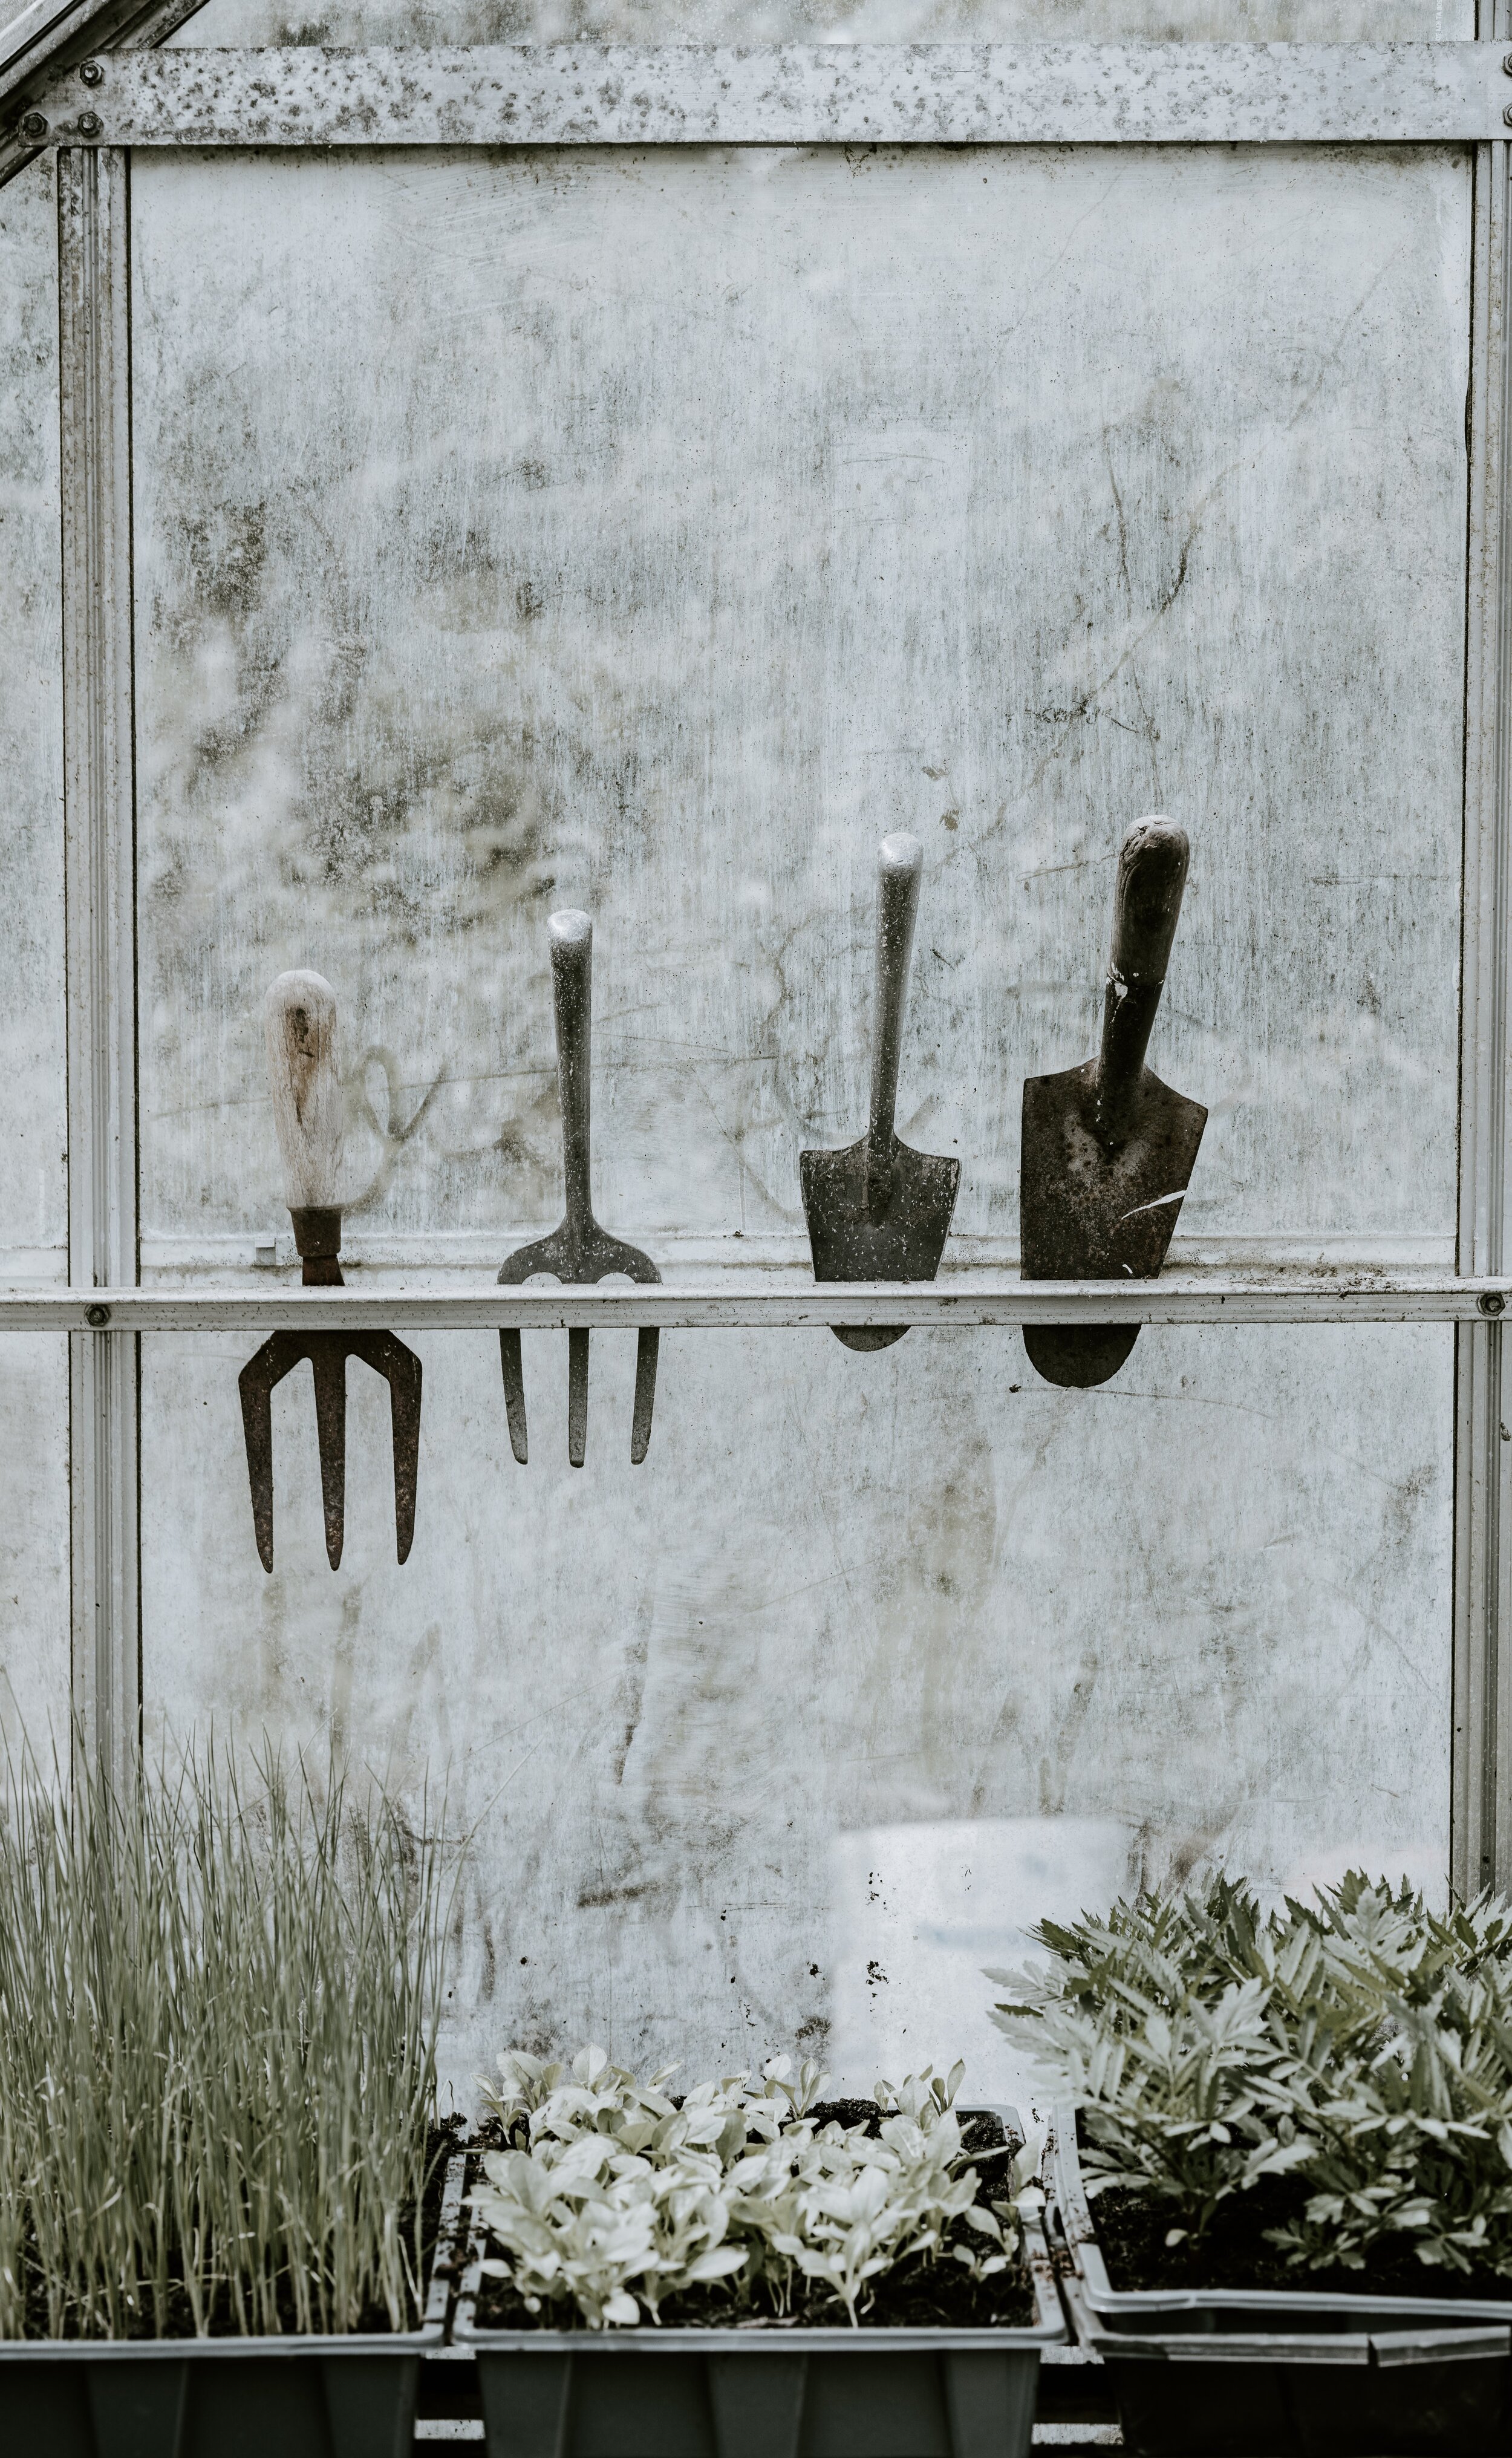
Photo by Annie Spratt on Unsplash
4. Care for your soil. Before you’re planning to plant, you might want to till your soil, apply a layer of compost, and rake in with the soil. Healthy soil equals healthy plants, so making sure to pay special attention to this step will set you and your crop up for success this year.
5. Zone Check. Give yourself a refresher of which zone you are located, and plan your plants out according to that. There’s nothing more discouraging than knowing that your plant won’t survive due to the weather conditions that you have no control over.

With these tips, we hope that you’ll be as excited as we are about this new season. And we hope that you’ll visit us to pick out all of your gorgeous flowers and healthy vegetables this spring.

Thank you so much for joining us here. For more information on what Garden Valley Farmers Market is about, you can visit us here. If you’re wanting to visit with us, come by any of our five North Carolina locations. If you’re wanting to follow along with us, you can do so either on our Facebook, Youtube, or our Instagram. And if you’re wanting to check out our other recipes and blog posts, or are needing more inspiration, follow us on our Pinterest. We’d love to have you join us in our journey of planting better, eating better, and living better.
Much love,
Your Garden Valley Farmers Market Team
Welcome to
Garden Valley Farmers Market where we strive to
Plant Better.
Eat Better.
Live Better.
To read more about what our company is about, click the photo below. We’re glad you’re here.

LET’S BE SOCIAL
WHAT’S HAPPENING ON INSTAGRAM