B L O G
How and When To Prune Your Shrubs
Pruning is an essential part of a plant’s life. Not only does it make your shrub look refreshed, but it also encourages healthy growth and sustainability for your plant to last year after year. And if you follow these steps on how and when to prune your shrubs, you’ll having your gorgeous shrubs lasting quite a long time.
Pruning is an essential part of a plant’s life. Not only does it make your shrub look refreshed, but it also encourages healthy growth and sustainability for your plant to last year after year. And if you follow these steps on how and when to prune your shrubs, you’ll having your gorgeous shrubs lasting quite a long time.
Why You Should Prune Your Shrubs
So why do it? Well, as plants grow, mature, and produce seeds/fruit/flowers, a little bit of maintenance and love is required from us. Pruning is the act of removing branches, leaves, and buds from a plant in order to make it more attractive, or to maintain its health.
Why take the extra time? Because your plant relies HEAVILY on it. Pruning removes any dead, dying, or diseased portion of the plant and helps to prevent spreading any disease throughout. Pruning also allows more light and air to pass throughout the plant, giving it more nutrients and allowing room for new growth.
Another common reason to prune would be what’s called “training” or “shaping”, which is when you want to shape a tree, hedge, or shrub. Training is accomplished by cutting branches to restrict growth. It also reduces the amount of branches, so an increase in energy and nutrients can go to all the other stems to produce more flowers/fruit.
When to Prune
It's important to remember to research your plant's specific needs, because no plant is the same as the other. However, here is a basic guideline that can assist you when there are no resources at hand:
Flowering Shrubs- prune immediately after blooming has ended
Non-Blooming Shrubs- prune late Winter or early Spring
Seasonal Pruning Guideline
Late winter is usually a time to prune fruit trees, non-flowering shrubs, trees, hedges, and berried shrubs/trees.
Spring is a time to prune any summer flower shrubs that have not bloomed yet.
Late spring pruning involves cutting back spring flowering shrubs that have already bloomed.
Summer is a great time to prune summer flowers after they have finished blooming.
Fall is a great time to prune roses, and also to remove any annuals that are finished with their season.
How to Prune
The two ways to prune your plant are by Heading + Thinning.
1. Heading
Heading is cutting off part of a branch in order to make the rest of the remaining branch stronger. It is used when new growth is wanted. If you are wanting new growth, you will want to cut the branch/stem just above the bud at an angle, remembering not to cut too close to the bud, but also not too far away. It may sound complicated, but we would be glad to show you how this achieved if you stop by one of our locations here in North Carolina.
2. Thinning
Thinning is cutting off a branch at its origin to prevent any new growth. This could include cutting to the main trunk or even to the ground. Often times a “thinning” technique is used when you are wanting to increase air flow and light to the plant. This helps to prevent diseases and boosts the bud and fruit production.
Pruning is an art that can seem complicated and difficult at first. But, once the basics are learned, it can become a freeing and therapeutic experience. And maybe we, as humans, can take a few principles from pruning, and apply them to our lives to make us stronger and healthier versions of ourselves. Because sometimes removing something, can actually be freeing at the end of it all.
Happy Pruning,
Your GVM Team
Mum's The Word; All About Mums and How To Care For Them
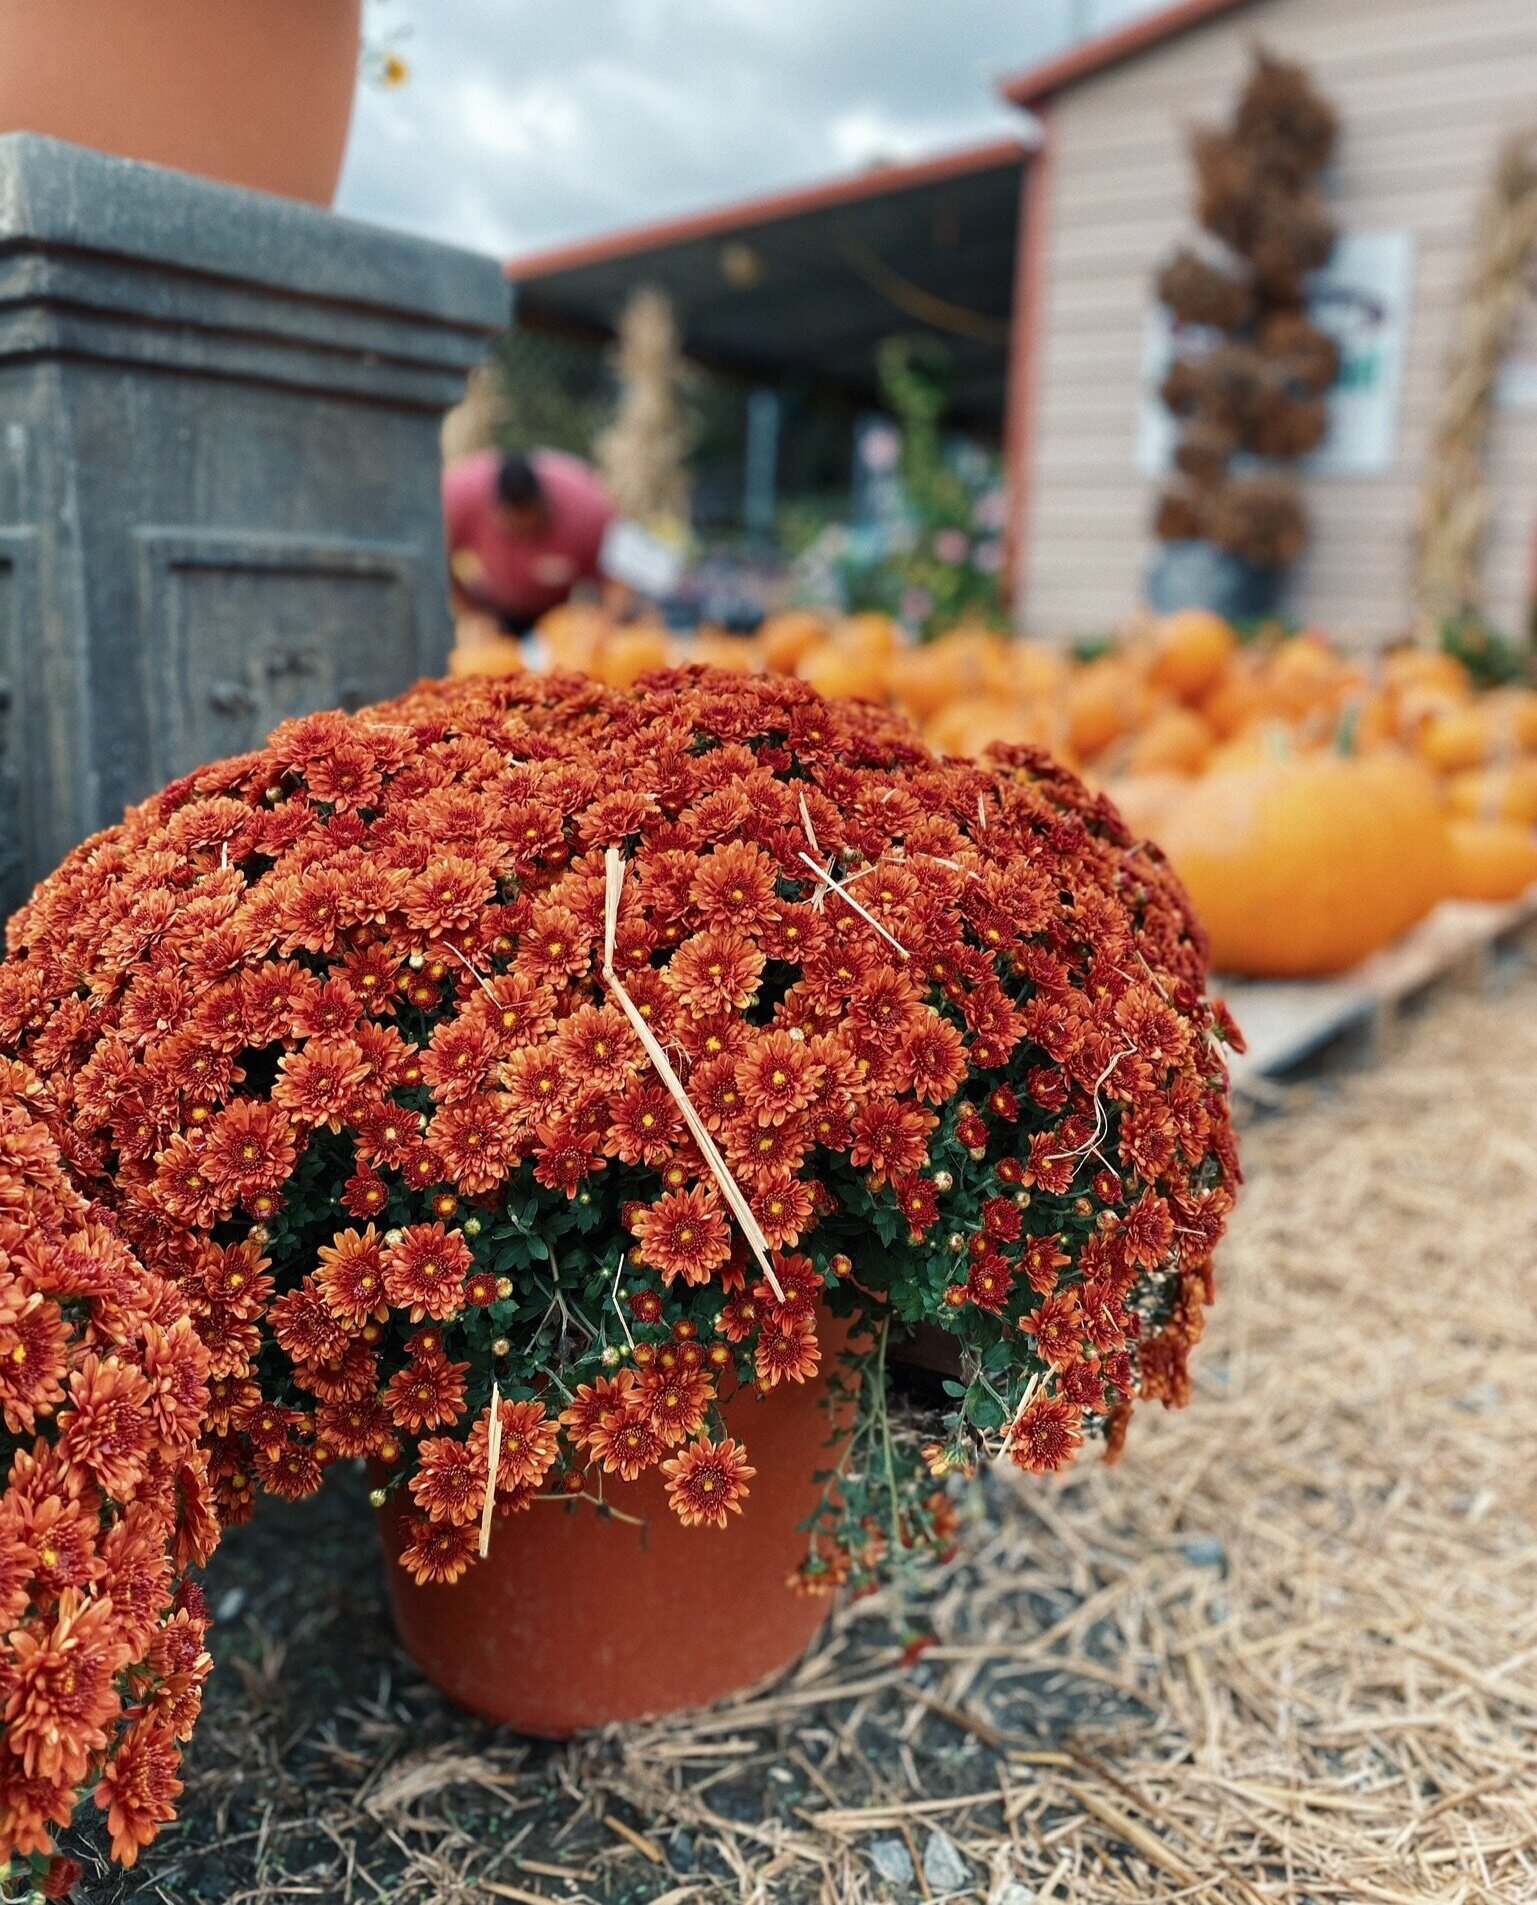
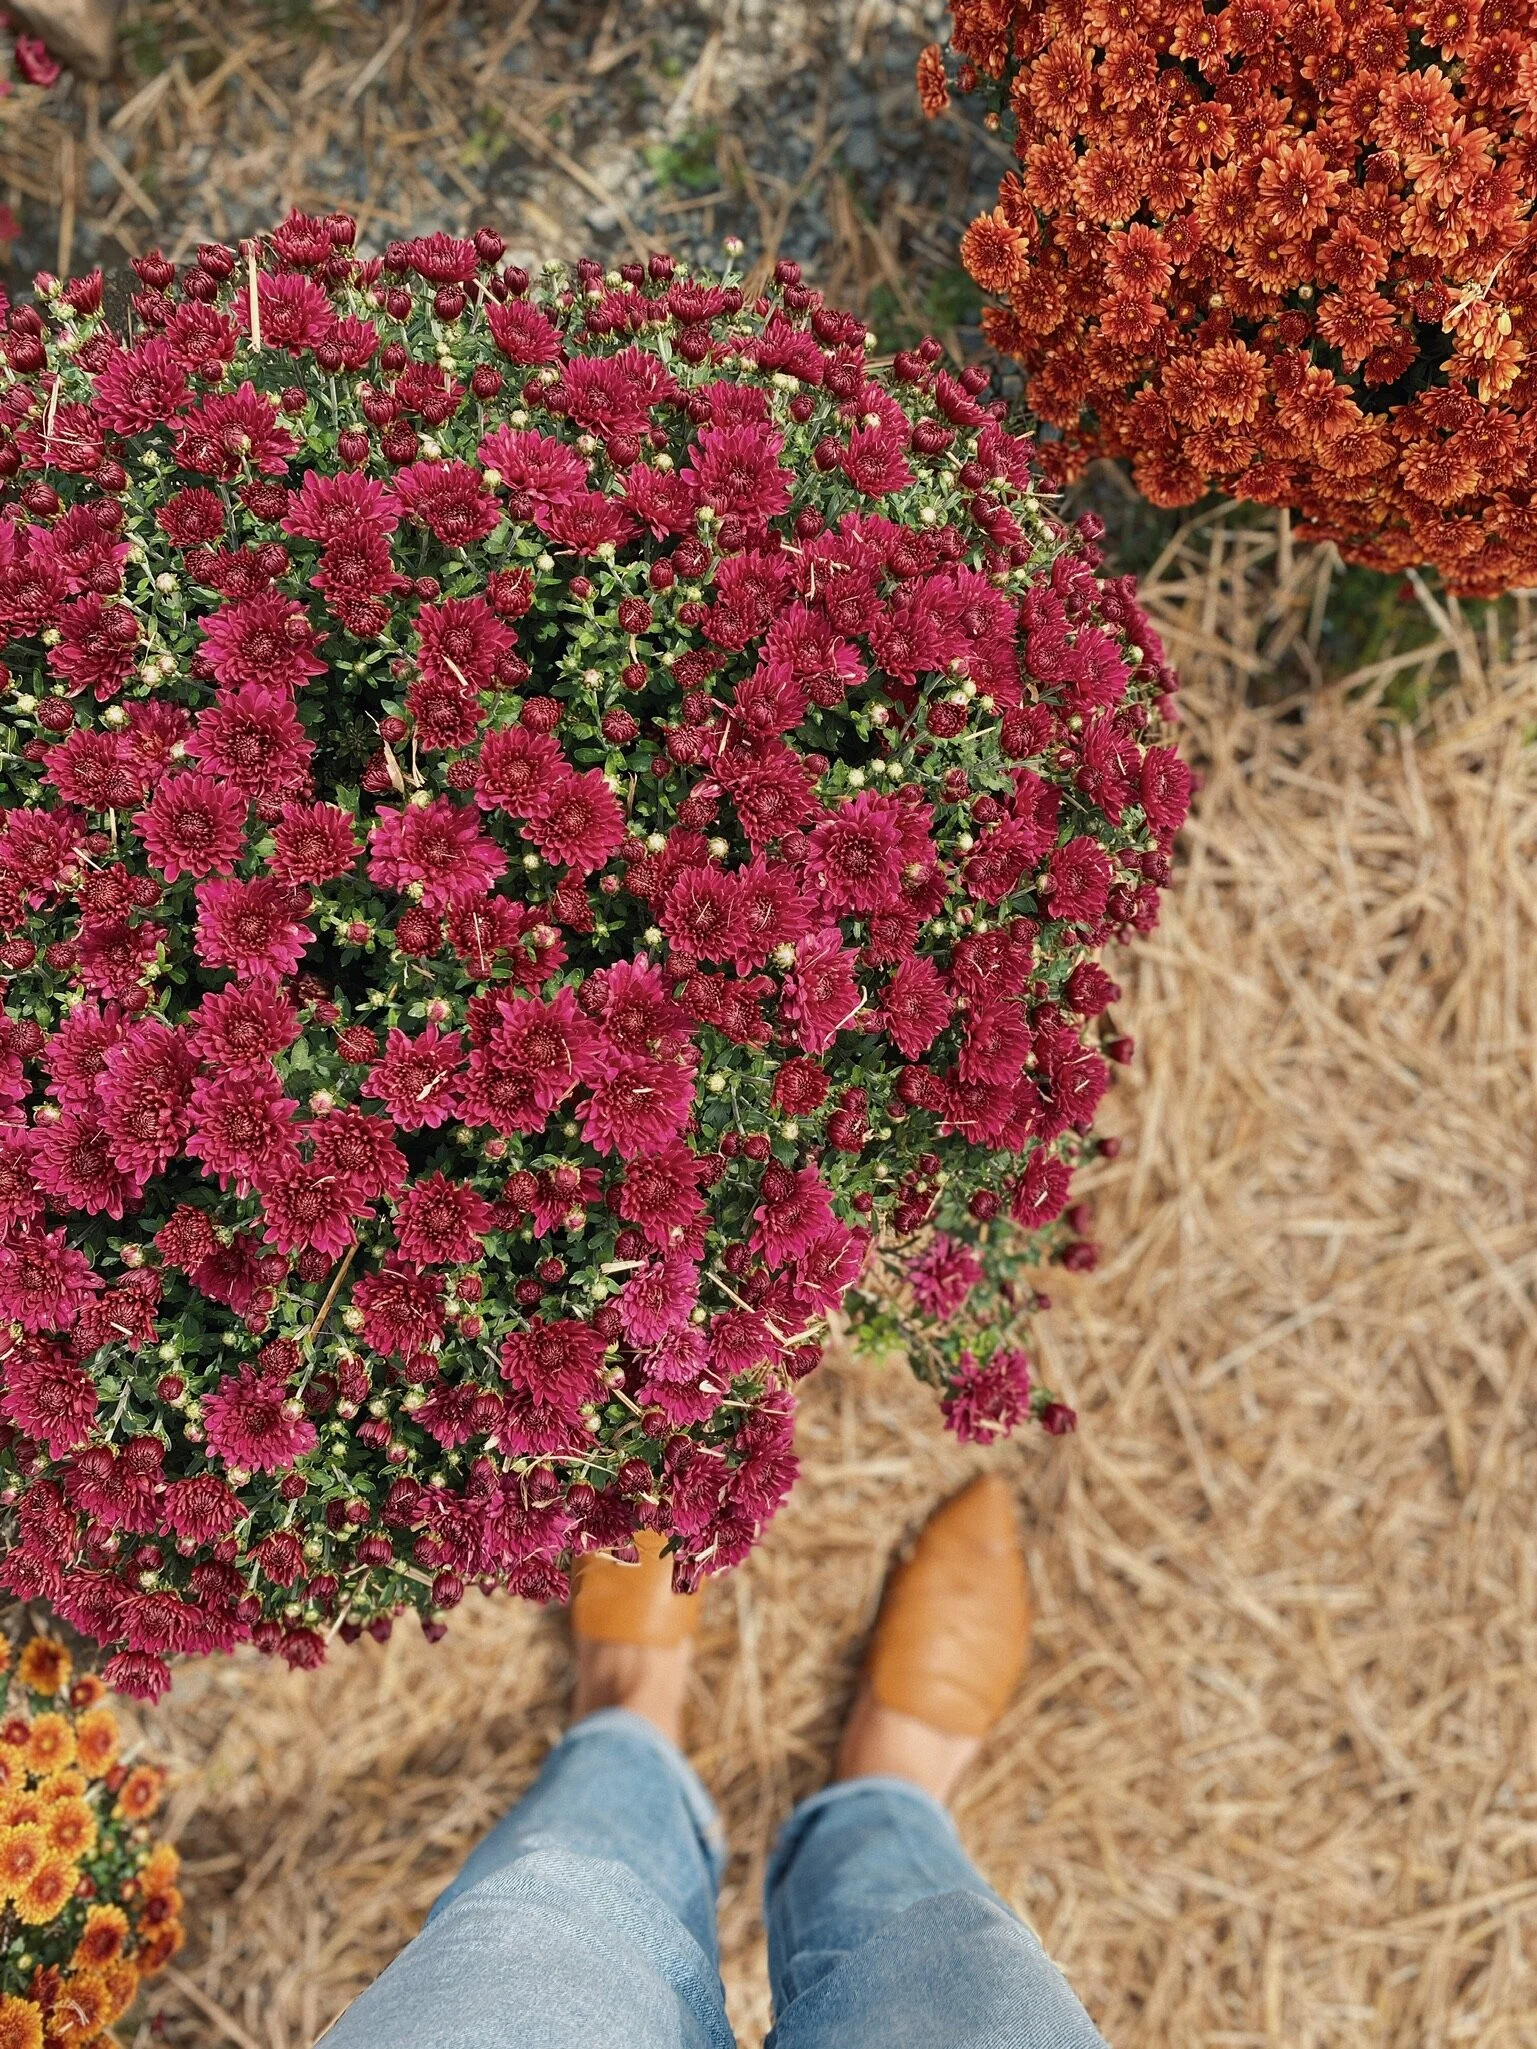
With the new season of Fall finally here, cooler temperatures are approaching. And whether you love cooler temps or not, one thing that is sure to brighten all of our spirits is the beautifully colorful plant that we like to call the chrysanthemum, or in short, t h e g a r d e n m u m.
With the new season of Fall finally here, cooler temperatures are approaching. And whether you love cooler temps or not, one thing that is sure to brighten all of our spirits is the beautifully colorful plant that we like to call the chrysanthemum, or in short, t h e g a r d e n m u m.
All About Mums
Did you know? The mum is both an annual and perennial.
That’s right! Depending on your climate and how you care for it, Mums can make an awesome come back the following Fall season. And with proper care, they can withstand the cold temperatures that the winter brings and deliver beautiful color each and every Fall season. It’s usually best to wait until Spring to allow for better root establishment, however, you can plant them in the fall as well. If planting in the Fall, make sure you give them plenty of protection to survive their first winter in the ground. This means resisting the urge to prune them and leaving the dried buds and leaves on the plant after it’s blooming season. Provide them with plenty of mulch to protect their sensitive roots from the cold.
What to look for
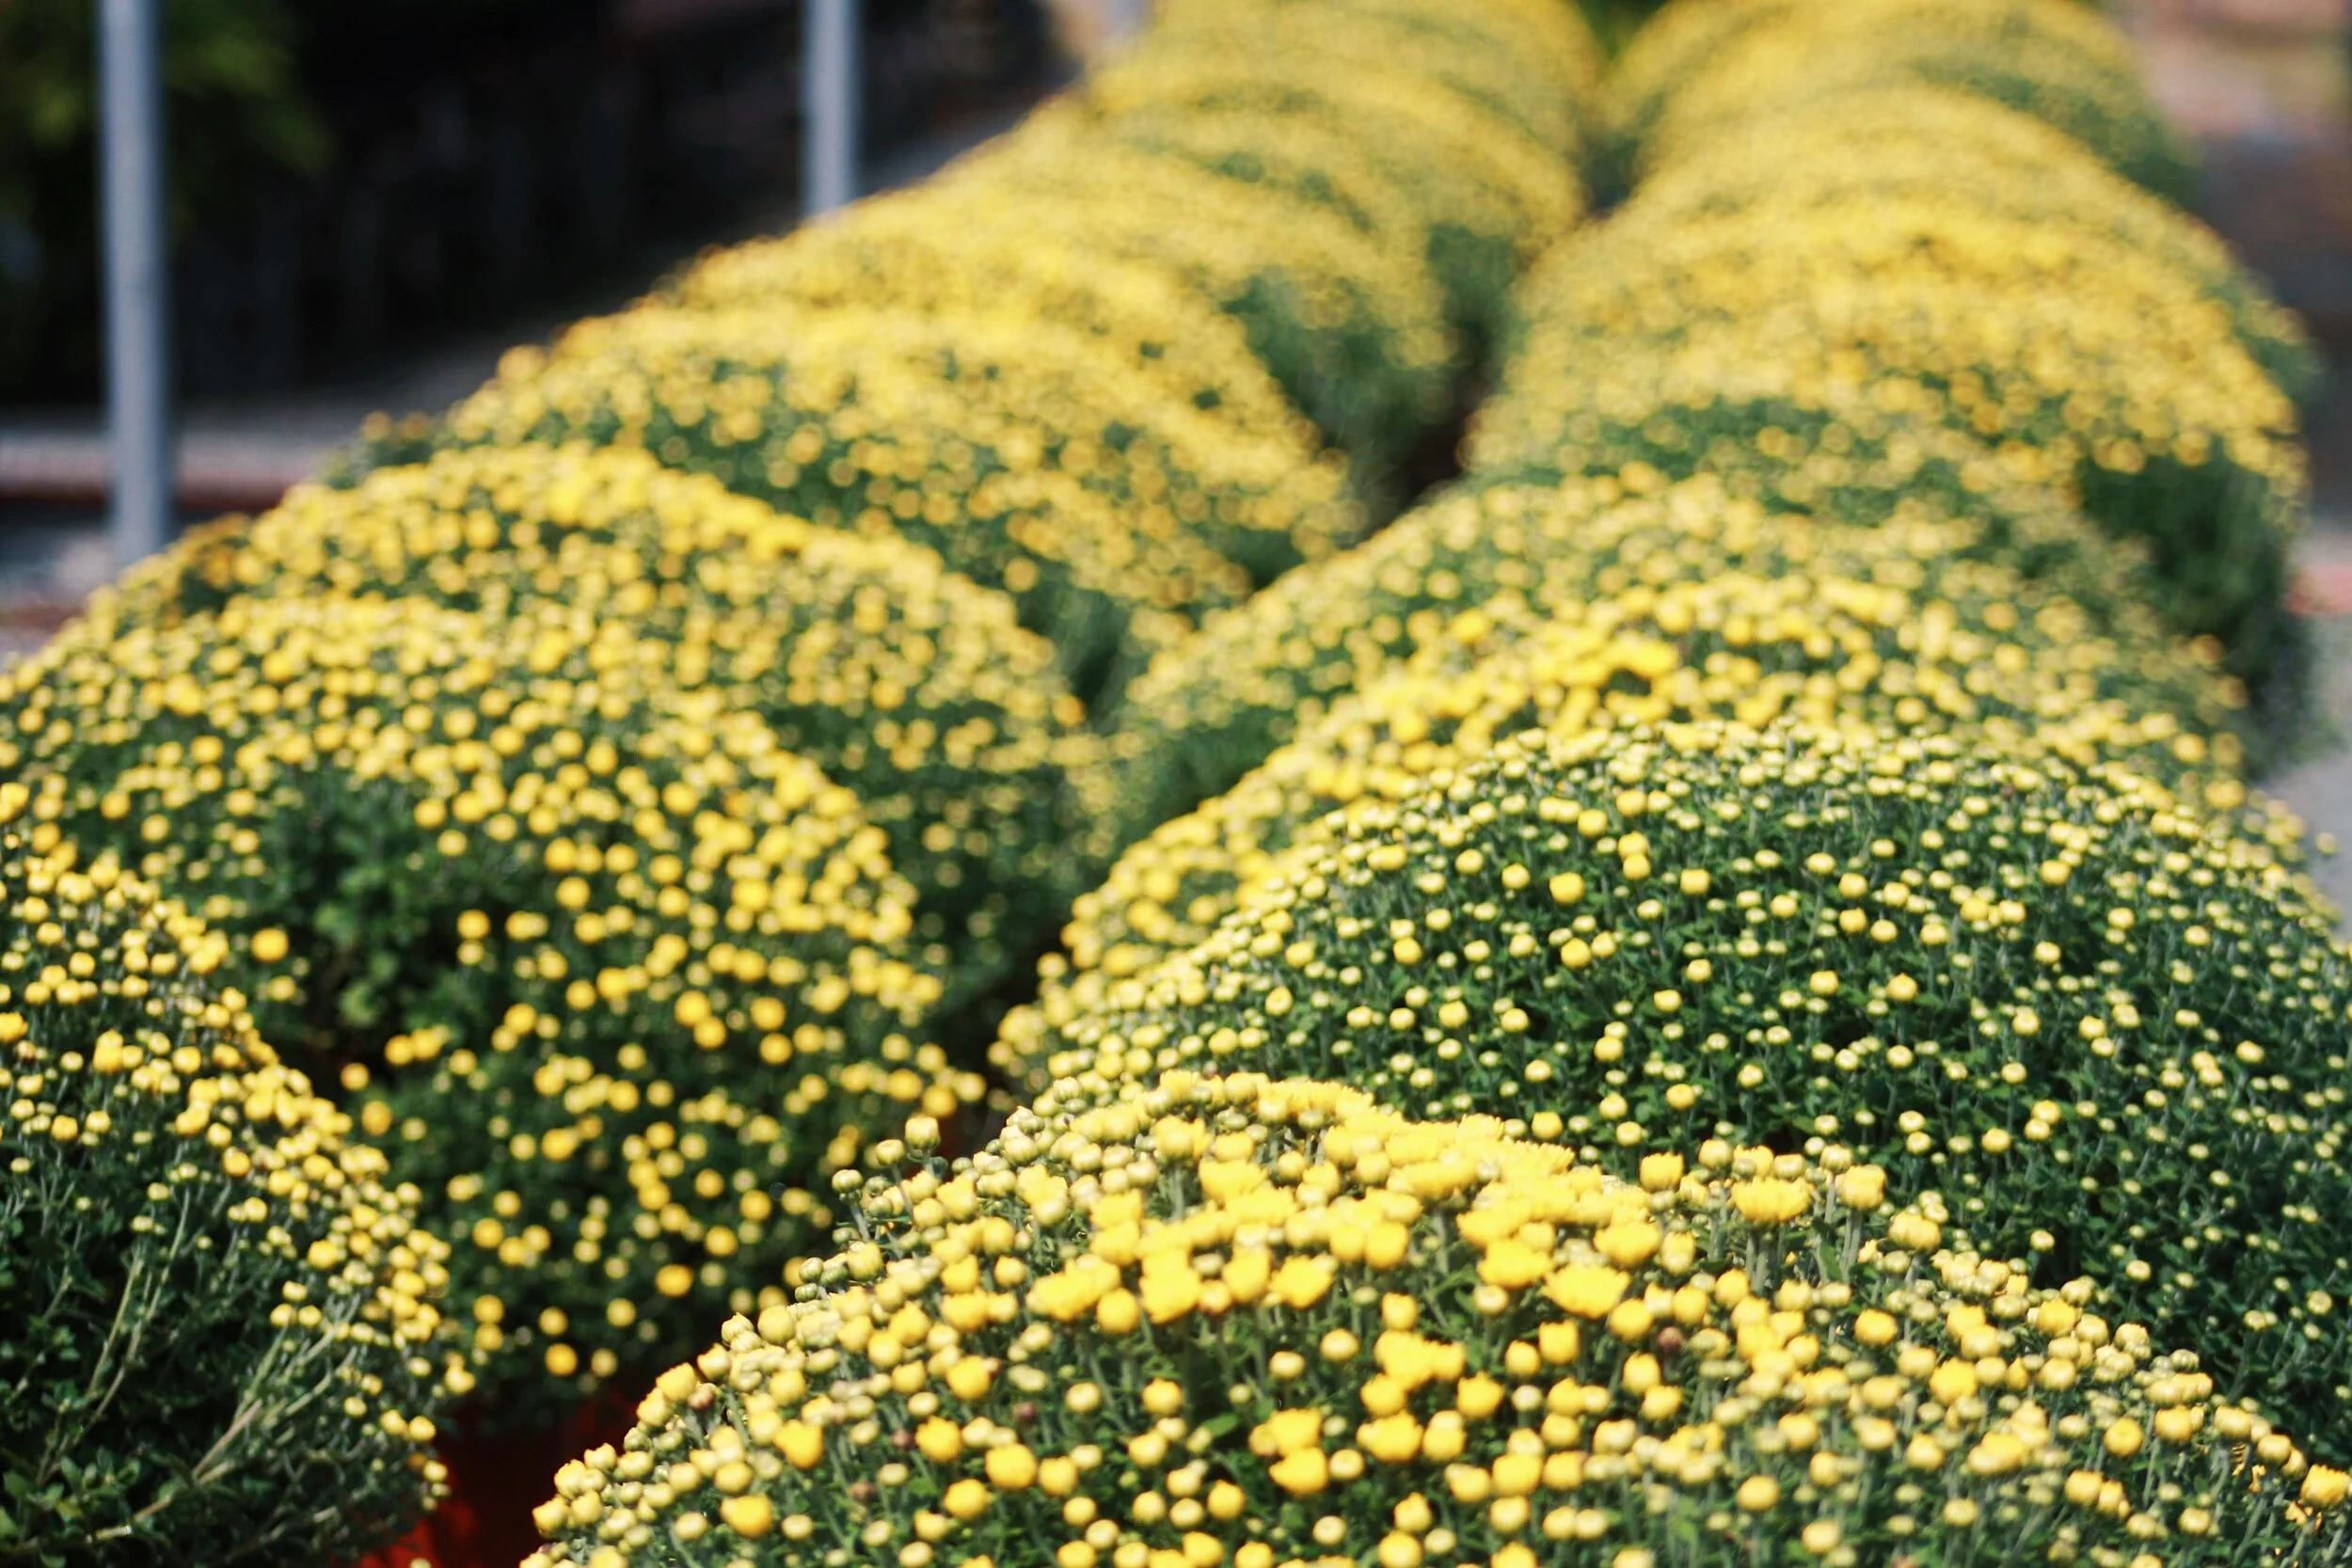
When choosing your mums, keep in mind WHEN you’re needing it in full bloom. If you have a last minute Fall party with guests attending, consider buying a Mum that is fully bloomed. BUT, if you’re looking for a Mum that will last for a longer period of time, choose a Mum with more unopened buds than not. This ensures that you will be able to enjoy the colorful blooms for a longer period of time.
Should you repot?
YES! We have many pottery options still available at all of our locations. Repotting your mum can be one of the best things you can do to set your mum up for success this Fall season. This prevents root rot, and allows more room for the roots to grow. More root growth means a healthier Mum with longer lasting blooms.
How to Care for Your Mum
Light
Mums can do okay in partial shade, but if you want your beautiful Mum to thrive, you need to give them full sun. If in the shade, this may cause your Mum to become “leggy” because it’s literally trying to reach for the sun. This also causes less flowering.
Soil
Mums prefer well-draining soil with compost or organic matter mixed in with it. Why add this to your soil? Because it creates a good environment that is essential to all plant’s health and growth.
Side Note: We have LOTS of Daddy Pete’s organic soil if you’re in need of any.
Water
Usually mums like to be watered every other day if in the full sun, but if the soil seems dry, go ahead and give it a nice soaking. Water until drainage seeps from under your pot. If in the ground, only water when the first inch of soil is dry.
WE WANT TO KNOW…
what is your favorite bloom color of Mums? Let us know in the comments below. You can also share your beautiful pictures with us by tagging us on Facebook or Instagram. We can’t wait to see!
#gardenvalleyfarmersmarket @gardenvalleyfarmersmarket
Much love,
Your Garden Valley Market Team
…and Tappy
The Easiest Butternut Squash Soup Ever
If you’re wanting a delicious soup recipe that screams the word “Fall”, then this delicious, mouth-watering soup recipe is for you! It’s super easy with minimal ingredients that you probably already have in your kitchen cupboard. And it will FOR SURE leave your kitchen smelling like your grandma’s house during a thanksgiving dinner.
If you’re wanting a delicious soup recipe that screams the word “Fall”, then this delicious, mouth-watering soup recipe is for you! It’s super easy with minimal ingredients that you probably already have in your kitchen cupboard. And it will FOR SURE leave your kitchen smelling like your grandma’s house during a thanksgiving dinner.
Butternut Squash Soup
First, we recommend gathering all of your ingredients to make the cooking process easier and faster for you. What you’ll need: butternut squash, salt, pepper, chicken stock, fresh rosemary, honey, cayenne pepper, white onion, and olive oil. Also, preheat your oven to 375 degrees F.
Next, combine your Cayenne Pepper, Salt, Pepper, Rosemary, Honey, and Olive Oil into a bowl to form a homemade glaze that’s so gooey and smooth.
Once you’ve made your glaze, set it aside and get to work on slicing your Butternut Squash in half. Gut out the seeds of the core of the squash, and then slice cubes into the meat of the squash, being careful to not slice through the skin. Slicing the cubes allows for an even absorption of the glaze into the “meat” of the squash.
Place your squash on a baking sheet and brush with your delicious homemade glaze. Go ahead and pop them in the oven for about 45-60 minutes. You could cook them faster, but let’s be honest… when it comes to cooking, slower is always much better! While they’re in the oven, baste them in their own juices a few times.
While waiting for your squash to cook, cut your onion and begin caramelizing it in a large pot with your butter. This should be done over a low/medium heat. Again, slow and steady.
Once your squash is finished cooking, scoop into the large pot that your onion is cooking in. Add your chicken stock and blend with a hand blender. (You could also add those ingredients to a regular blender if you don’t have access to a hand blender.)
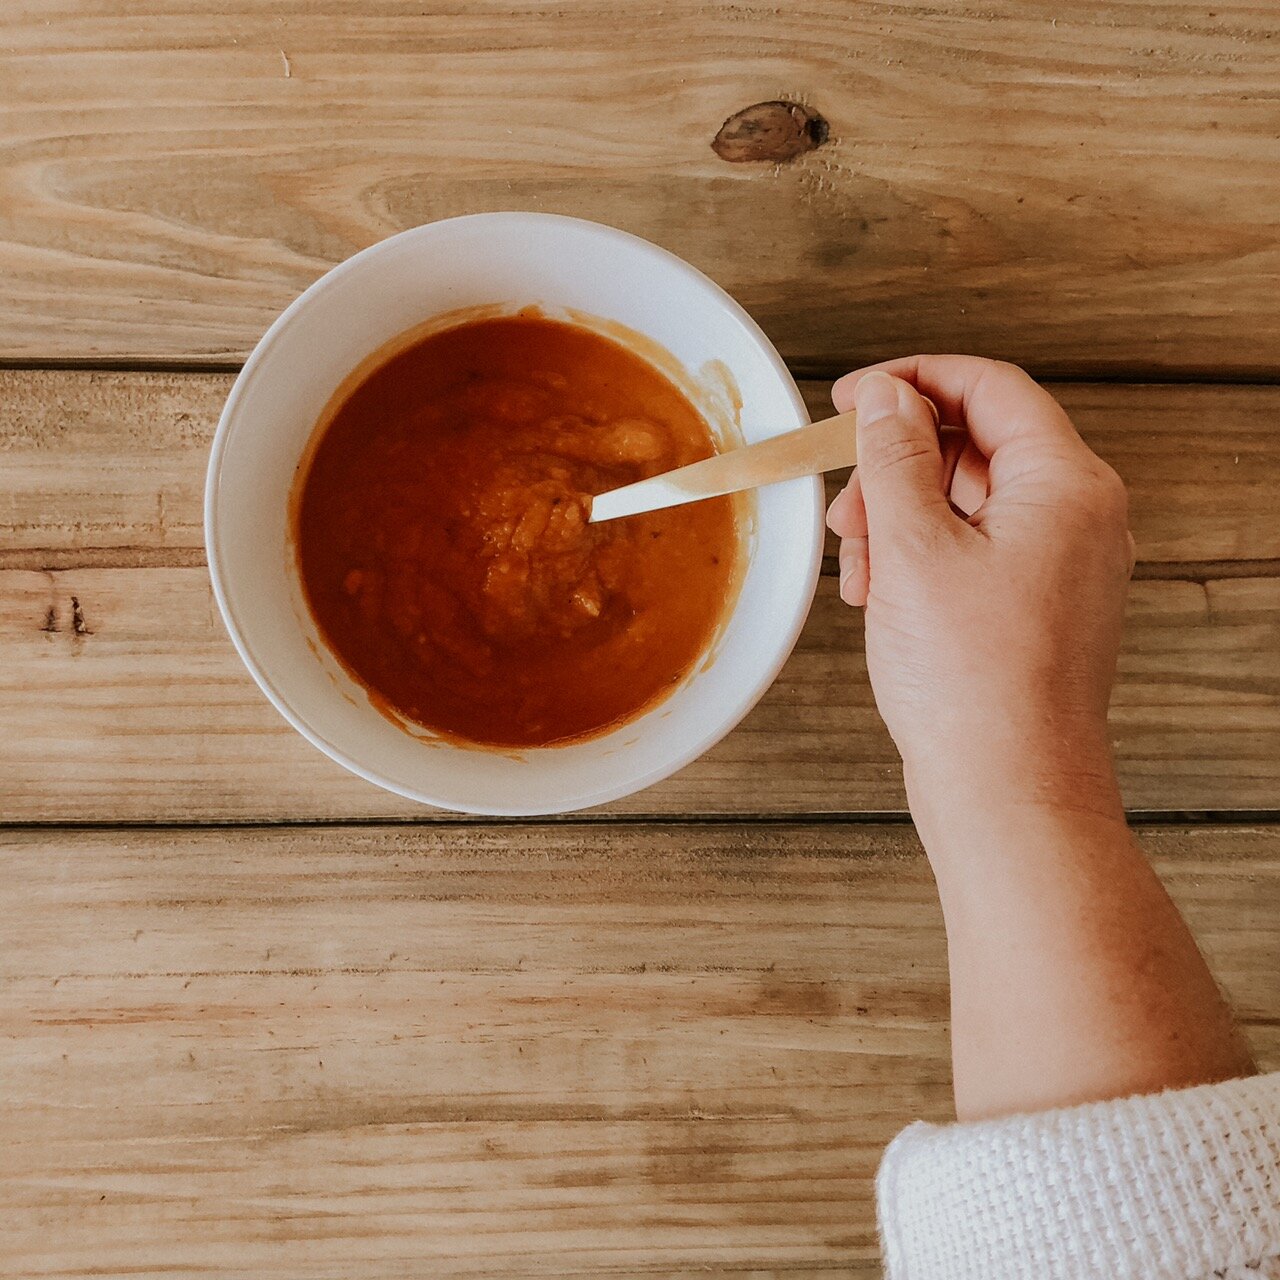
When you’ve finished blending, season with salt and pepper to taste, and you’re done! See… that wasn’t so bad was it? Basically you just have to cut up a squash, add a glaze, cook in the oven, and puree once done. Super easy, quick, and FULL of FLAVOR that will leave us feeling so cozy and embracing the warmth that this Fall season brings to our lives.
Butternut Squash Soup RECIPE
SERVINGS: 2-3 PEOPLE
INGREDIENTS
1 Butternut Squash
1 3/4 C Chicken Stock
1 T Rosemary
1 T Honey
1/4 t Cayenne Pepper
1/2 White Onion
1 T Olive Oil
1/4 t Salt (also to taste)
Pepper to taste
DIRECTIONS
1. Pre-heat oven to 375 degrees F.
2. Combine salt, pepper, rosemary, honey, and olive oil into bowl.
3. Slice squash in half. Gut seeds out of core. Slice cubes into the meat of squash.
4. Place on baking sheet and brush with glaze. Pop in oven for 45-60 minutes. (Baste in juices occasionally throughout cooking.)
5. Cut onion and begin caramelizing in a large pot with butter over medium/low heat.
6. Take cooked squash out of oven and scoop into pot that onion is cooking in. Blend with hand blender.
7. Season with salt and pepper to taste.
S I D E N O T E
If you do not have access to a hand blender, you can mix/puree ingredients by using a
regular blender instead.
Preparing Your Garden For Fall
It’s almost time… And you all know what we’re talking about… FALL. Cool, crisp temperatures, changing leaves, pumpkins, pansies, mums, and all things Autumn. And we have a few tips and tricks for you as you prepare your garden for this glorious Autumn season.
It’s almost time… And you all know what we’re talking about… FALL. Cool, crisp temperatures, changing leaves, pumpkins, pansies, mums, and all things Autumn. And we have a few tips and tricks for you as you prepare your garden for this glorious Autumn season.
1. Clean out any summer vegetables and flowers that will not survive the season. Pull up the nonproductive vegetable plants and flowers that are no longer producing those gorgeous summer blooms and vegetables. This process can be bittersweet, but sometimes it’s necessary to make space and “clean” it for any future plants that are needing fresh new soil.
2. Compost what is not diseased and use for winter or next spring’s garden. You don’t have to throw those beautiful plants away and never see them again. In fact, you're able to put those in a bin and compost them for future use. Compost is GREAT for the soil and if you cover it with mulch, it adds much needed nutrients to your soil.
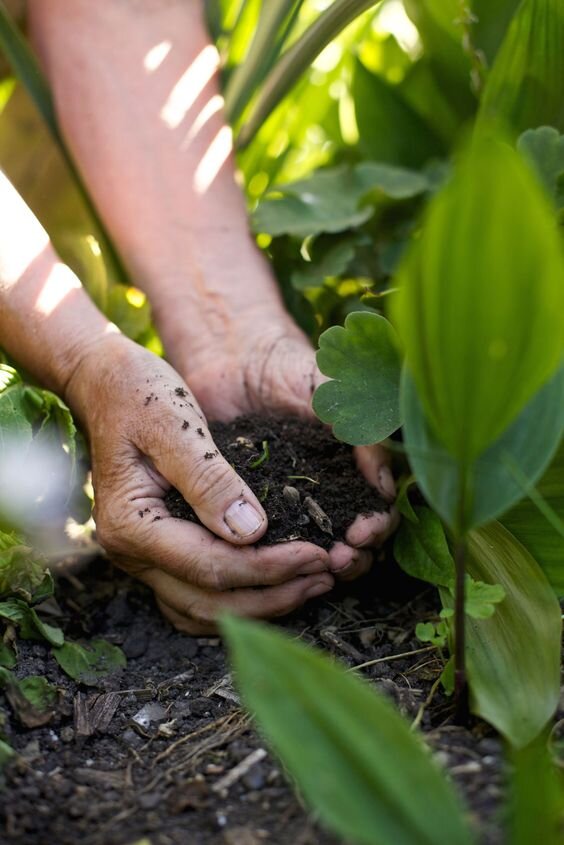
3. Even if you are not planting any vegetables or flowers for the fall, it’s very important to prepare your soil for the following year. Add an extra layer of compost and mix it in with the soil with a rake. It’s a great way to loosen your soil and prepare it for your future garden. This process also help to provide your soil with vital nutrients needed for your next crop. Because healthy soil means healthy plants.
Image via Gardening Know How
4. Plant a cover crop. Fall cover crops are another great way to put nutrients back into your soil while waiting for the spring and summer months to arrive again. Here is a great article specific to zone 7 on types of cover crops that you could plant in your garden.
Image via Pexels
But what should you plant in the Fall?
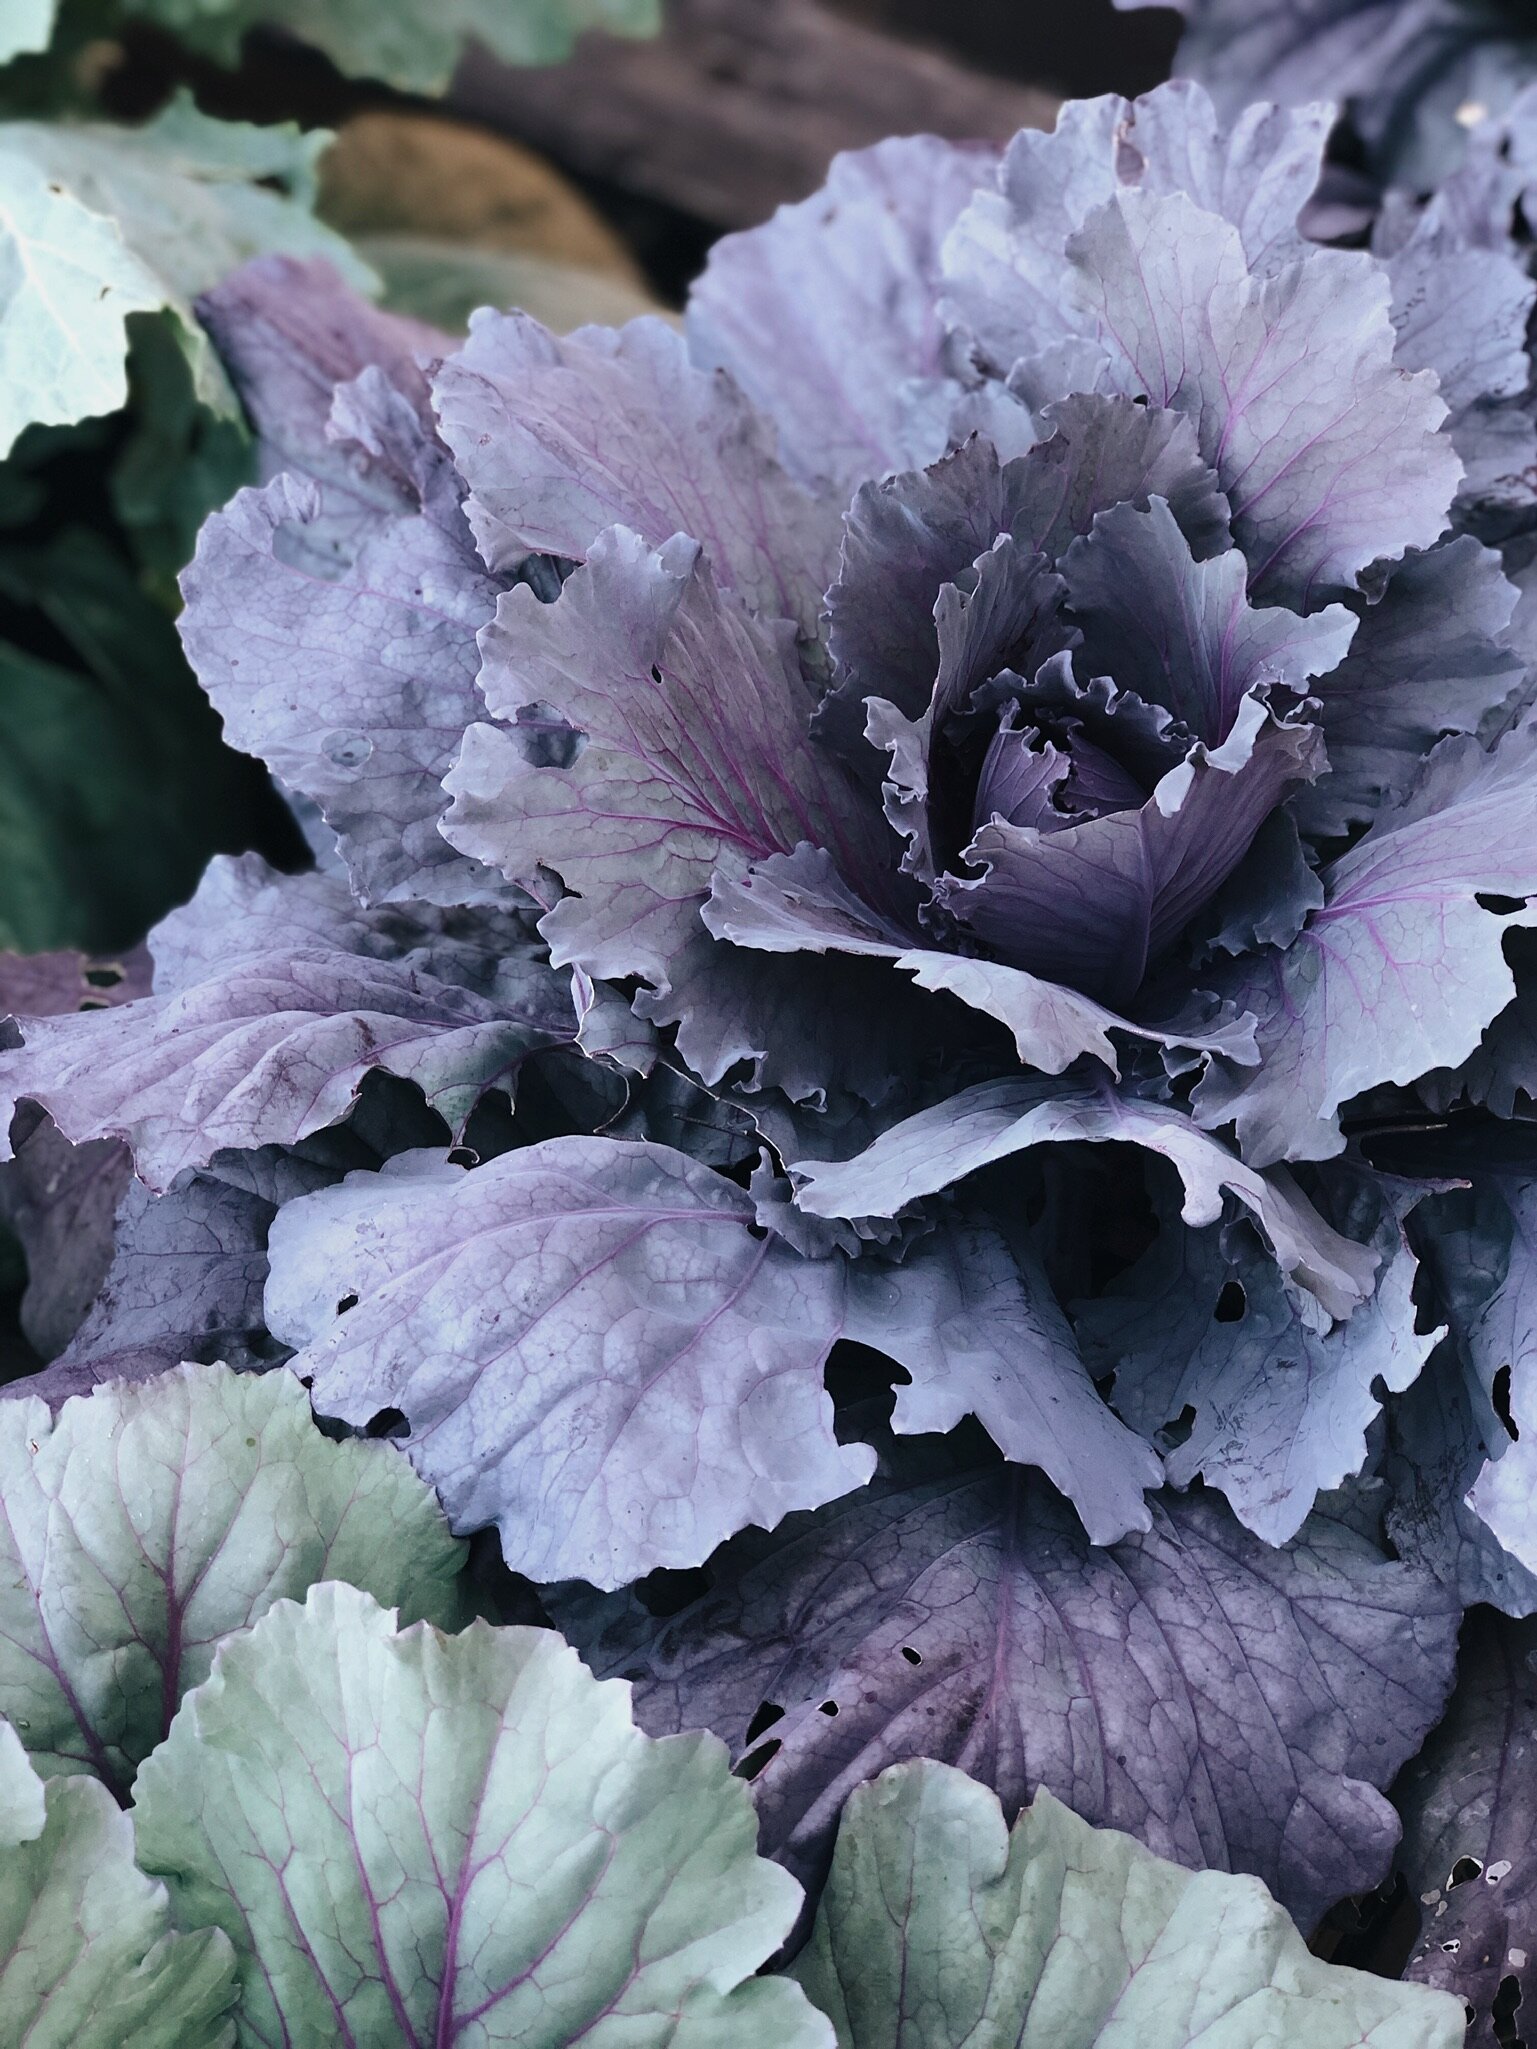
You can plant basically any cruciferous vegetable: cauliflower, broccoli, cabbage, beets, kale, turnips, and so much more! Here are the two ways you can do this:
Image via Fine Gardening
From seed.
If you’re starting from seed, it’s usually a bit more time consuming, but is cheaper. And it requires a bit of counting backwards from your frost date, which is usually provided on the back of the seed packet.
From transplant.
This option is usually much easier. You also don’t need to start quite as early, which is great if you haven’t already started on your Fall garden! Plus, let’s be honest, gardening in the fall is much nicer due to the cooler weather and nice breeze.
Thank you so much for joining us here. For more information on what Garden Valley Farmers Market is about, you can visit us here. If you’re wanting to visit with us, come by any of our five North Carolina locations. If you’re wanting to follow along with us, you can do so either on our Facebook, Youtube, or our Instagram. If you’re wanting to earn rewards and be easily connected with us, download our new App. And if you’re wanting to check out our other recipes and blog posts, or are needing more inspiration, follow us on our Pinterest. We’d love to have you join us in our journey of planting better, eating better, and living better.
Much love,
Your Garden Valley Farmers Market Team


