B L O G
Growing Gigantic Monstera Deliciosa
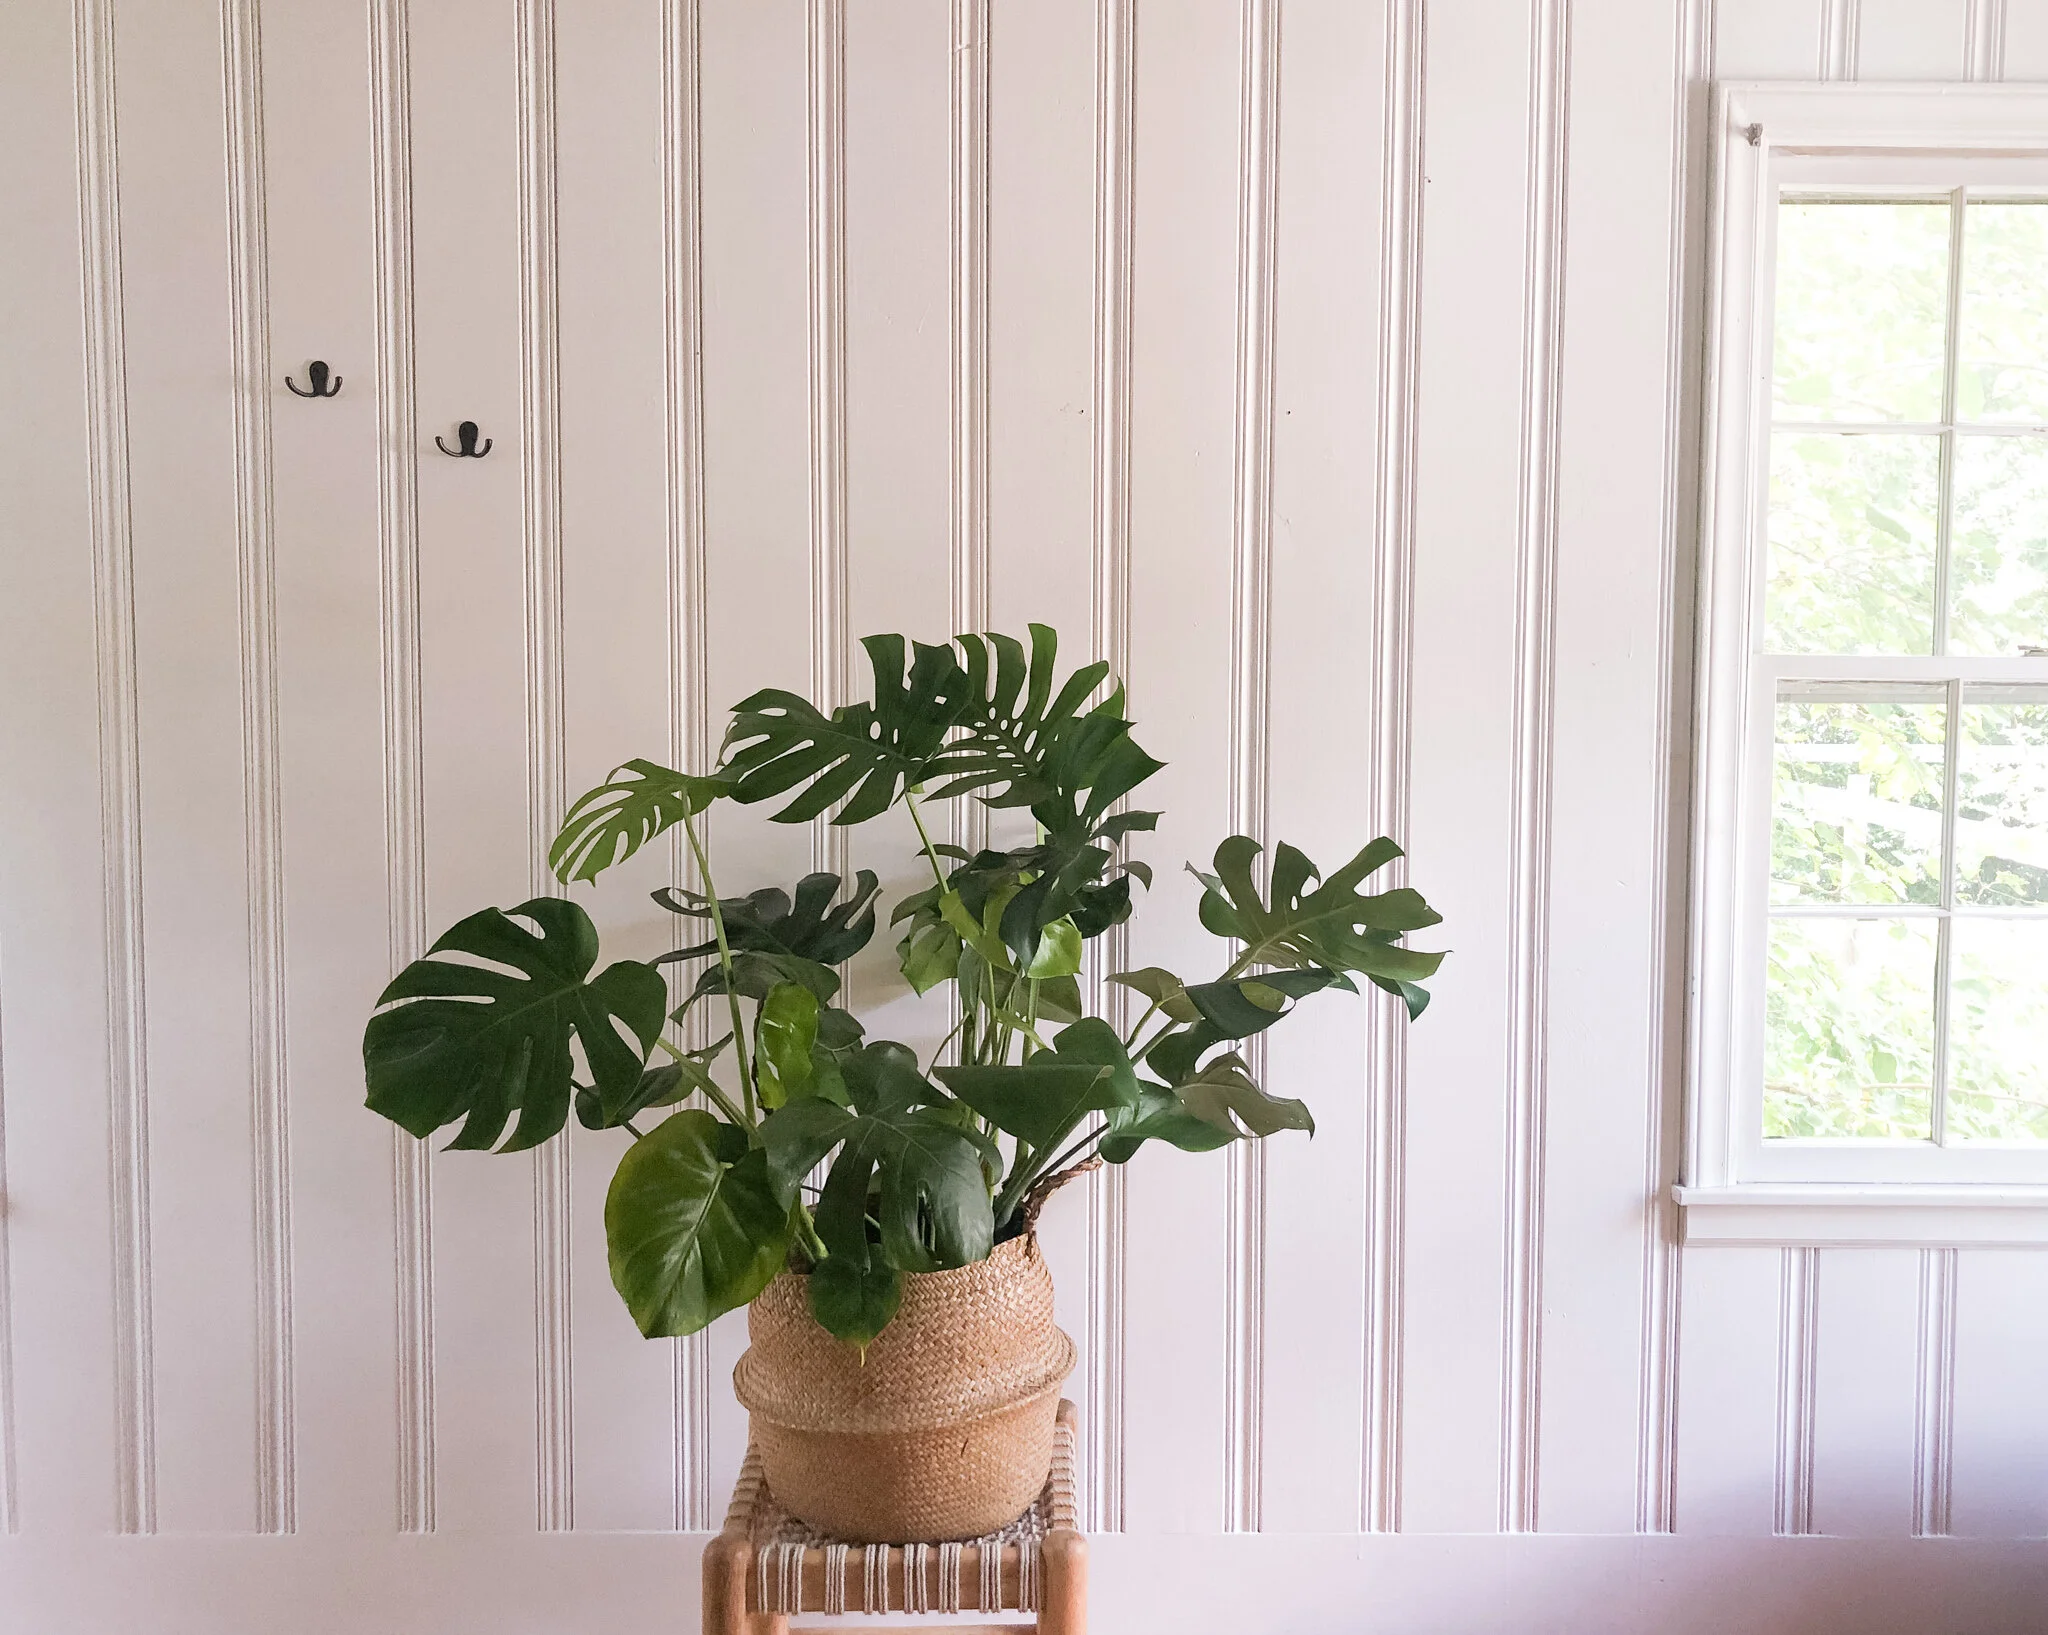
If you’re looking for a beginner-friendly houseplant that’s large and in charge, then we recommend the Monstera Deliciosa. This gorgeous plant has beautiful green foliage, uniquely shaped leaves, is easy to propagate, and will leave you wanting one in every room of your house. Here’s how to take care of them and keep them happy for many years to come:
If you’re looking for a beginner-friendly house plant that’s large and in charge, then we recommend the Monstera Deliciosa. This gorgeous plant has beautiful green foliage, uniquely shaped leaves, is easy to propagate, and will leave you wanting one in every room of your house. Here’s how to take care of them and keep them happy for many years to come:
L O C A T I O N
Place your Monstera in a spot where it can receive bright to medium indirect light. If they get too much direct sunlight, this can cause the leaves to burn. But the opposite condition, too little light, will eventually cause the leaves/plant to droop and die off. Let’s keep them happy by placing them near a window that may receive a few minutes of direct sunlight, but mostly will be exposed to indirect sun.
To note- Monstera do like humid conditions, so if you have a bathroom with plenty of space and a window, this a great location to place them. Also, we would be very jealous if you did.
S O I L
Monstera Deliciosa are basic and okay with good ole’ indoor potting soil. Nothing special. To encourage a faster growth rate, you can repot them every spring into another pot that’s an inch or two larger in diameter. This gives them ample space that will encourage new root growth, which means you will get a plant that will become bigger and healthier.
W A T E R I N G
Watering your Monstera is not super tricky. A weekly watering should do the trick for them. If you notice that the top layer of soil is still wet, maybe hold off on watering for a day or two and then proceed as normal.
And as we mentioned before, they do like humid conditions, so if you have a humidifier and don’t know where to place it during the winter months, then we recommend placing near your giant Monstera.
P R O P O G A T I N G
…using stem cuttings, which is the most common method.
1. Find an aerial root on your stem that has a node and, ideally, two healthy leaves.
2. Cut 1/2 inch below the aerial root with sharp scissors at a 45 degree angle.
3. Place cutting into a jar of your choice that’s filled with enough water to cover about 1/4 of the entire stem. (Be sure that your jar is able to keep your stem in an upright position)
4. Change out the water every 2 weeks, and be sure that the cutting is placed in INDIRECT sun.
5. You should begin to see roots growing in about three weeks, but we recommend waiting about one to two months before transplanting into soil. For the first month of them being planted in new soil, make sure to water it every few days to encourage root attachment.
WE WANT TO KNOW…
do you have a Monstera Deliciosa? If not, will you get one? We have plenty to choose from at a few of our locations. Let us know in the comments below. You can also share your Monstera moments with us by using #gardenvalleyfarmersmarket on Facebook or Instagram. We can’t wait to see!
Thank you so much for joining us here. For more information on what Garden Valley Farmers Market is about, you can visit us here. If you’re wanting to visit with us, come by any of our five North Carolina locations. If you’re wanting to follow along with us, you can do so either on our Facebook, Youtube, or our Instagram. If you’re wanting to earn rewards and be easily connected with us, download our new App. And if you’re wanting to check out our other recipes and blog posts, or are needing more inspiration, follow us on our Pinterest. We’d love to have you join us in our journey of planting better, eating better, and living better.
Much love,
Your Garden Valley Farmers Market Team
Keeping Your Hanging Basket Beautiful
You finally have your GORGEOUS hanging basket that you hang picked from Garden Valley Farmers Market. You’re watering it and admiring its unique beauty and color that it brings to your home. With a little work, love, and the following tips, let’s keep your hanging baskets looking absolutely gorgeous and full of blooms all summer long.
You finally have your GORGEOUS hanging basket that you hand picked from Garden Valley Farmers Market. You’re watering it and admiring its unique beauty and color that it brings to your home. With a little work, love, and the following tips, let’s keep your hanging baskets looking absolutely gorgeous and full of blooms all summer long.
Location
When choosing your hanging baskets, remember to keep location in the forefront of your mind. Needing a shade plant? We recommend Ferns, Wandering Jew, and Fuchsia!
Needing a basket that’s in a sunny location? Petunia, Million Bells, and Lantana are GREAT choices for you, and come in a beautiful variety of colors.
Fertilize… slowly
Slow and steady wins the race when it comes to fertilizing your hanging basket. Why? First, if fertilizing too much, the flower/plant can become stressed by growing too fast and cause it to go into shock. Slow growth is much better than the opposite in the long run. Second, its important to fertilize because the soil is not exposed to the same soil as a garden bed would be. It’s not getting the same organic compounds and nutrients from the earth when its hanging in the air, so regular fertilizing of your basket is recommended.
Watering
How and when you water your basket is secretly an important tip. Most baskets tend to dry out faster than a bedding plant or pot would because they are exposed to more wind, so watering once (sometimes twice) daily is recommended with most hanging baskets. However, be sure to ask your sales associate for your specific plant’s watering needs if there is no tag).
When is the best time to water, you ask? We recommend early morning. Early morning watering gives the plant enough time to absorb the moisture that is needed so that it can survive the heat of the day, but any time, as long as you’re watering, is a good time.
Regular Pruning and Deadheading
Once a week, cut back and remove any damaged leaves or flower buds from your basket. You will notice a huge difference in the longevity of life from your basket if this is done and kept up with. Doing this not only increases growth in your basket, but it also increases the bloom development. And we all want that, right?!
F Y I
MOST hanging basket from Garden Valley Farmers Market do not need to be repotted, as long as they are kept trimmed back and pruned. But on the off chance that the basket might need some saving… check out the next section on what to do.
Your Plant May Have Outgrown It’s Container
If your plant starts to look overgrown, it might be time for you to repot your basket. Hanging baskets can become root bound because the roots will have no room left to grow. If you haven’t kept up with the regular pruning of your basket, you can repot your plant into a hanging basket that is a size bigger. Wire baskets filled with a coconut liner are a great option because they increase air flow through the root of the plant.
We would love to see photos of how beautiful your hanging baskets are this summer, so tag @gardenvalleyfarmersmarket in your posts, and don’t forget to use the hashtag #gardenvalleyfarmersmarket and show us your beautiful baskets!
Lastly, if you find this information helpful, we’d love it if you would support us
by sharing with your friends.
Thank you so much for joining us here. For more information on what Garden Valley Farmers Market is about, you can visit us here. If you’re wanting to visit with us, come by any of our five North Carolina locations. If you’re wanting to follow along with us, you can do so either on our Facebook, Youtube, or our Instagram. If you’re wanting to earn rewards and be easily connected with us, download our new App. And if you’re wanting to check out our other recipes and blog posts, or are needing more inspiration, follow us on our Pinterest. We’d love to have you join us in our journey of planting better, eating better, and living better.
Much love,
Your Garden Valley Farmers Market Team
Growing Gorgeous Hibiscus
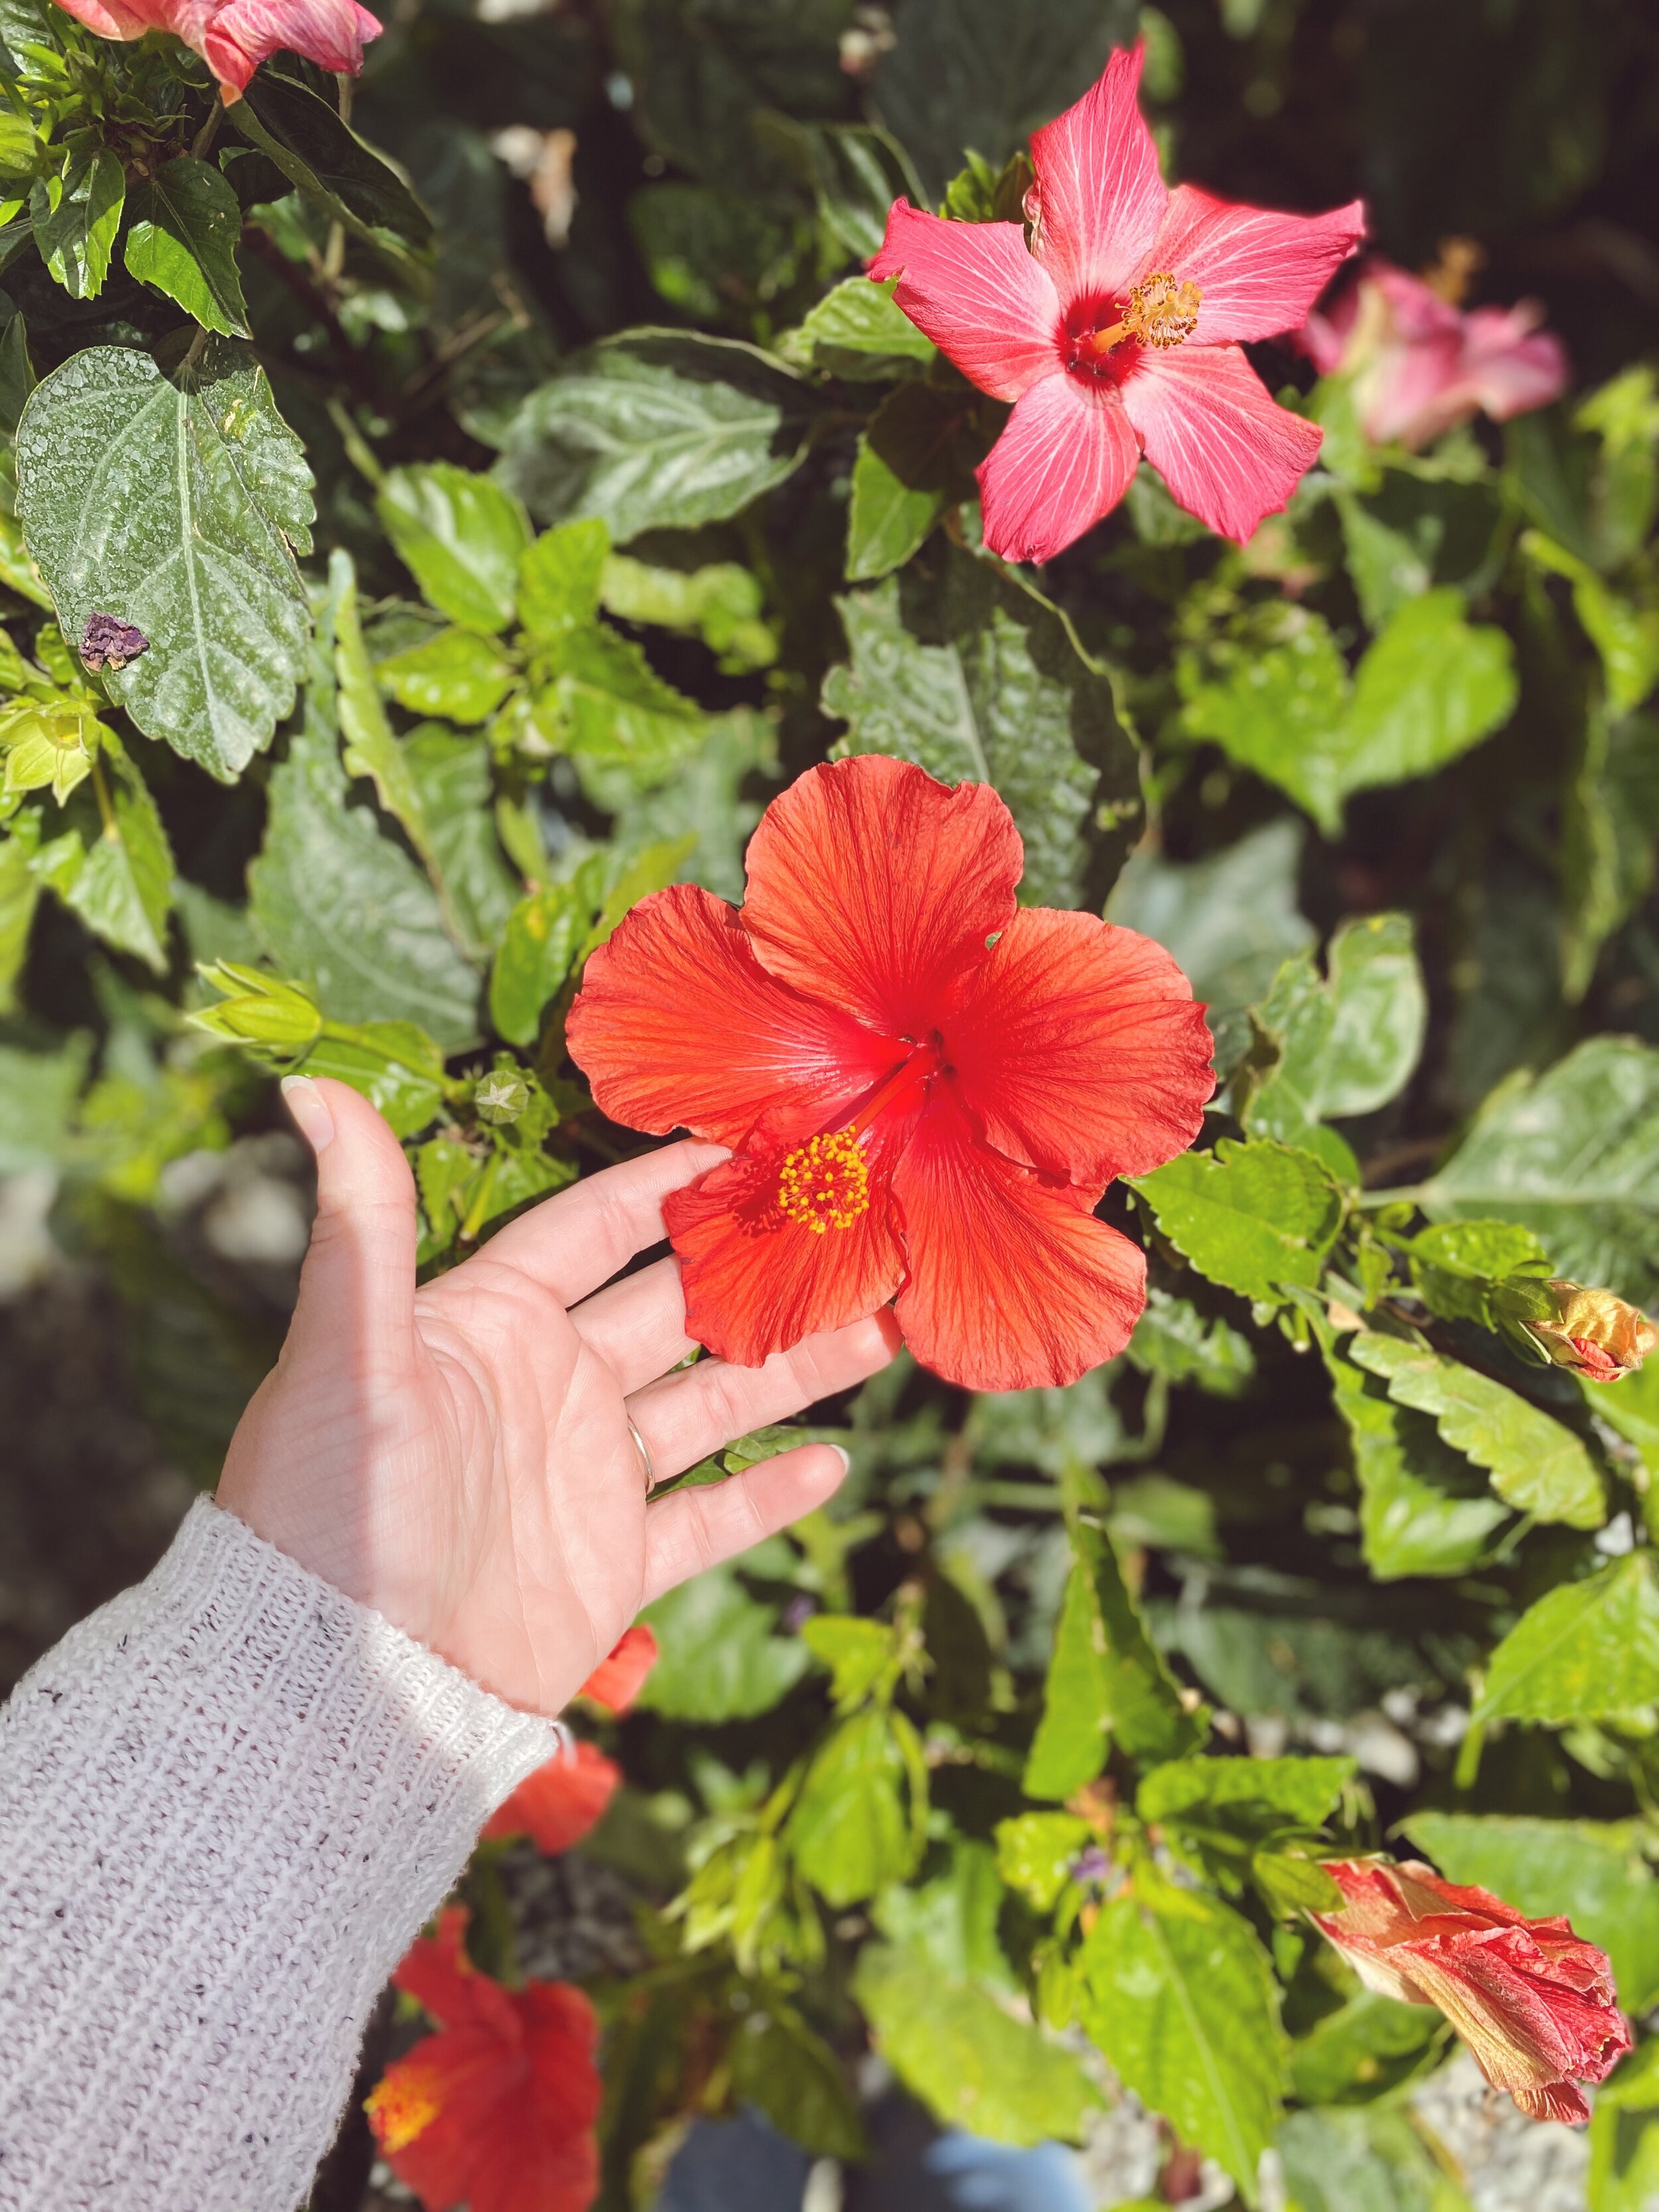
With absolutely gigantic, gorgeous, and beautiful blooms, Hibiscus bushes are the perfect spring, summer, and even fall plant that will leave your landscape bright and full of color. With a variety of bloom colors ranging from yellow to pink, these hardy tropical bushes are perfect for any yard that receives full sun.
With absolutely gigantic, gorgeous, and beautiful blooms, Hibiscus is the perfect spring, summer, and even fall plant that will leave your landscape bright and full of color and depth. With a variety of bloom colors ranging from yellow to pink, these hardy tropical bushes and trees are perfect for any yard that receives full sun.
here’s how to get those gigantic, gorgeous blooms, and keep them thriving:
L O C A T I O N
Hibiscus likes warm weather, and gravitates towards the sun, so if you’re considering one (or a few) for yourself, make sure you have a sunny location in mind. Many gardeners like to put them into the ground and watch how big they will grow, but repotting into a slightly larger pot would be another great option as well.
Hibiscus blooms are also prone to tear and are very delicate, so make sure to place them in a location that has some protection from the wind.
Did you know you can also bring your Hibiscus inside in the colder months? Just make sure it receives a ton of sunlight while inside.
S O I L
If planting your precious Hibiscus into the ground, add a little bit of fresh compost to the mix to increase the soil’s pH level, as Hibiscus likes it neutral or slightly acidic.
If planting in a pot, make sure to size up your pot an inch or two in diameter. And to use a well draining potting mix, like the Daddy Pete’s Potting Mix that we have available at our stores. It is organic and will leave you with a happy plant that’s producing vibrant blooms all summer long!
W A T E R I N G
The great thing about Hibiscus is that they are drought tolerant and don’t need as much watering attention as some other plants. However, that doesn’t mean that you should neglect them.
For the first week after planting, be sure to water daily to help the roots establish into its new soil bed. After the first week, every other day should be fine.
Once your plant is established, you can taper off your water schedule to about twice a week if there is no rainfall. However, on those hot and dry North Carolina days, remember that it might need some watering love every other day.
P R U N I N G
To promote bigger, and more beautiful blooms, you will have to remove the old blooms, that have lived their best life mind you, but are no longer pretty.
When bringing your bush or tree inside for the winter, you can trim it back to about one-third of its size in the LATE winter or early spring.
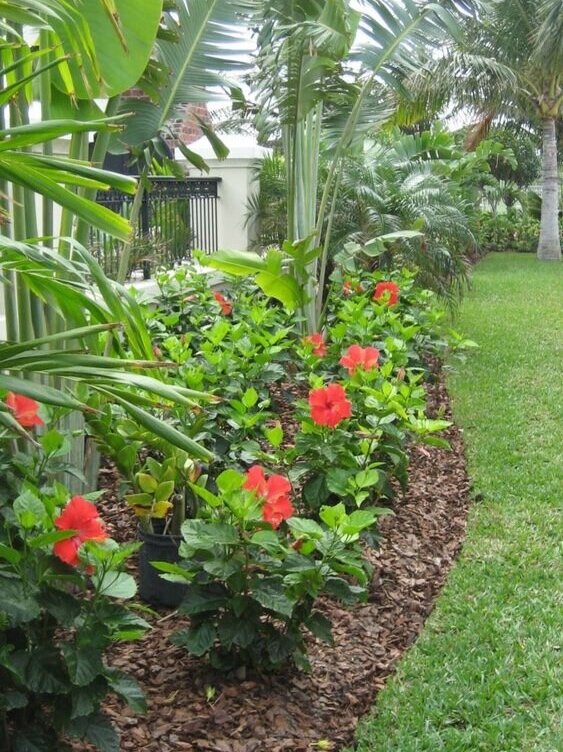
Enjoy this gorgeous inspiration gallery we sourced from Pinterest for ideas on how you can use Hibiscus, either outside in your landscaping or inside of your home.
Do you enjoy growing Hibiscus in your yard to brighten up your garden? Are there other flower varieties you’d like to try? We’d love to hear about your plans in our comments below!
Please note: we truly hope you’ll come visit with us, and we would also love to see your gardening photos as well, so tag @gardenvalleyfarmersmarket in your posts, and don’t forget to use the hashtag #gardenvalleyfarmersmarket!
And lastly, if you find this information helpful, we’d love it if you would support us by sharing with your friends.
Thank you so much for joining us here. For more information on what Garden Valley Farmers Market is about, you can visit us here. If you’re wanting to visit with us, come by any of our five North Carolina locations. If you’re wanting to follow along with us, you can do so either on our Facebook, Youtube, or our Instagram. And if you’re wanting to check out our other recipes and blog posts, or are needing more inspiration, follow us on our Pinterest. We’d love to have you join us in our journey of planting better, eating better, and living better.
Much love,
Your Garden Valley Farmers Market Team
How and When to Repot Your Houseplant
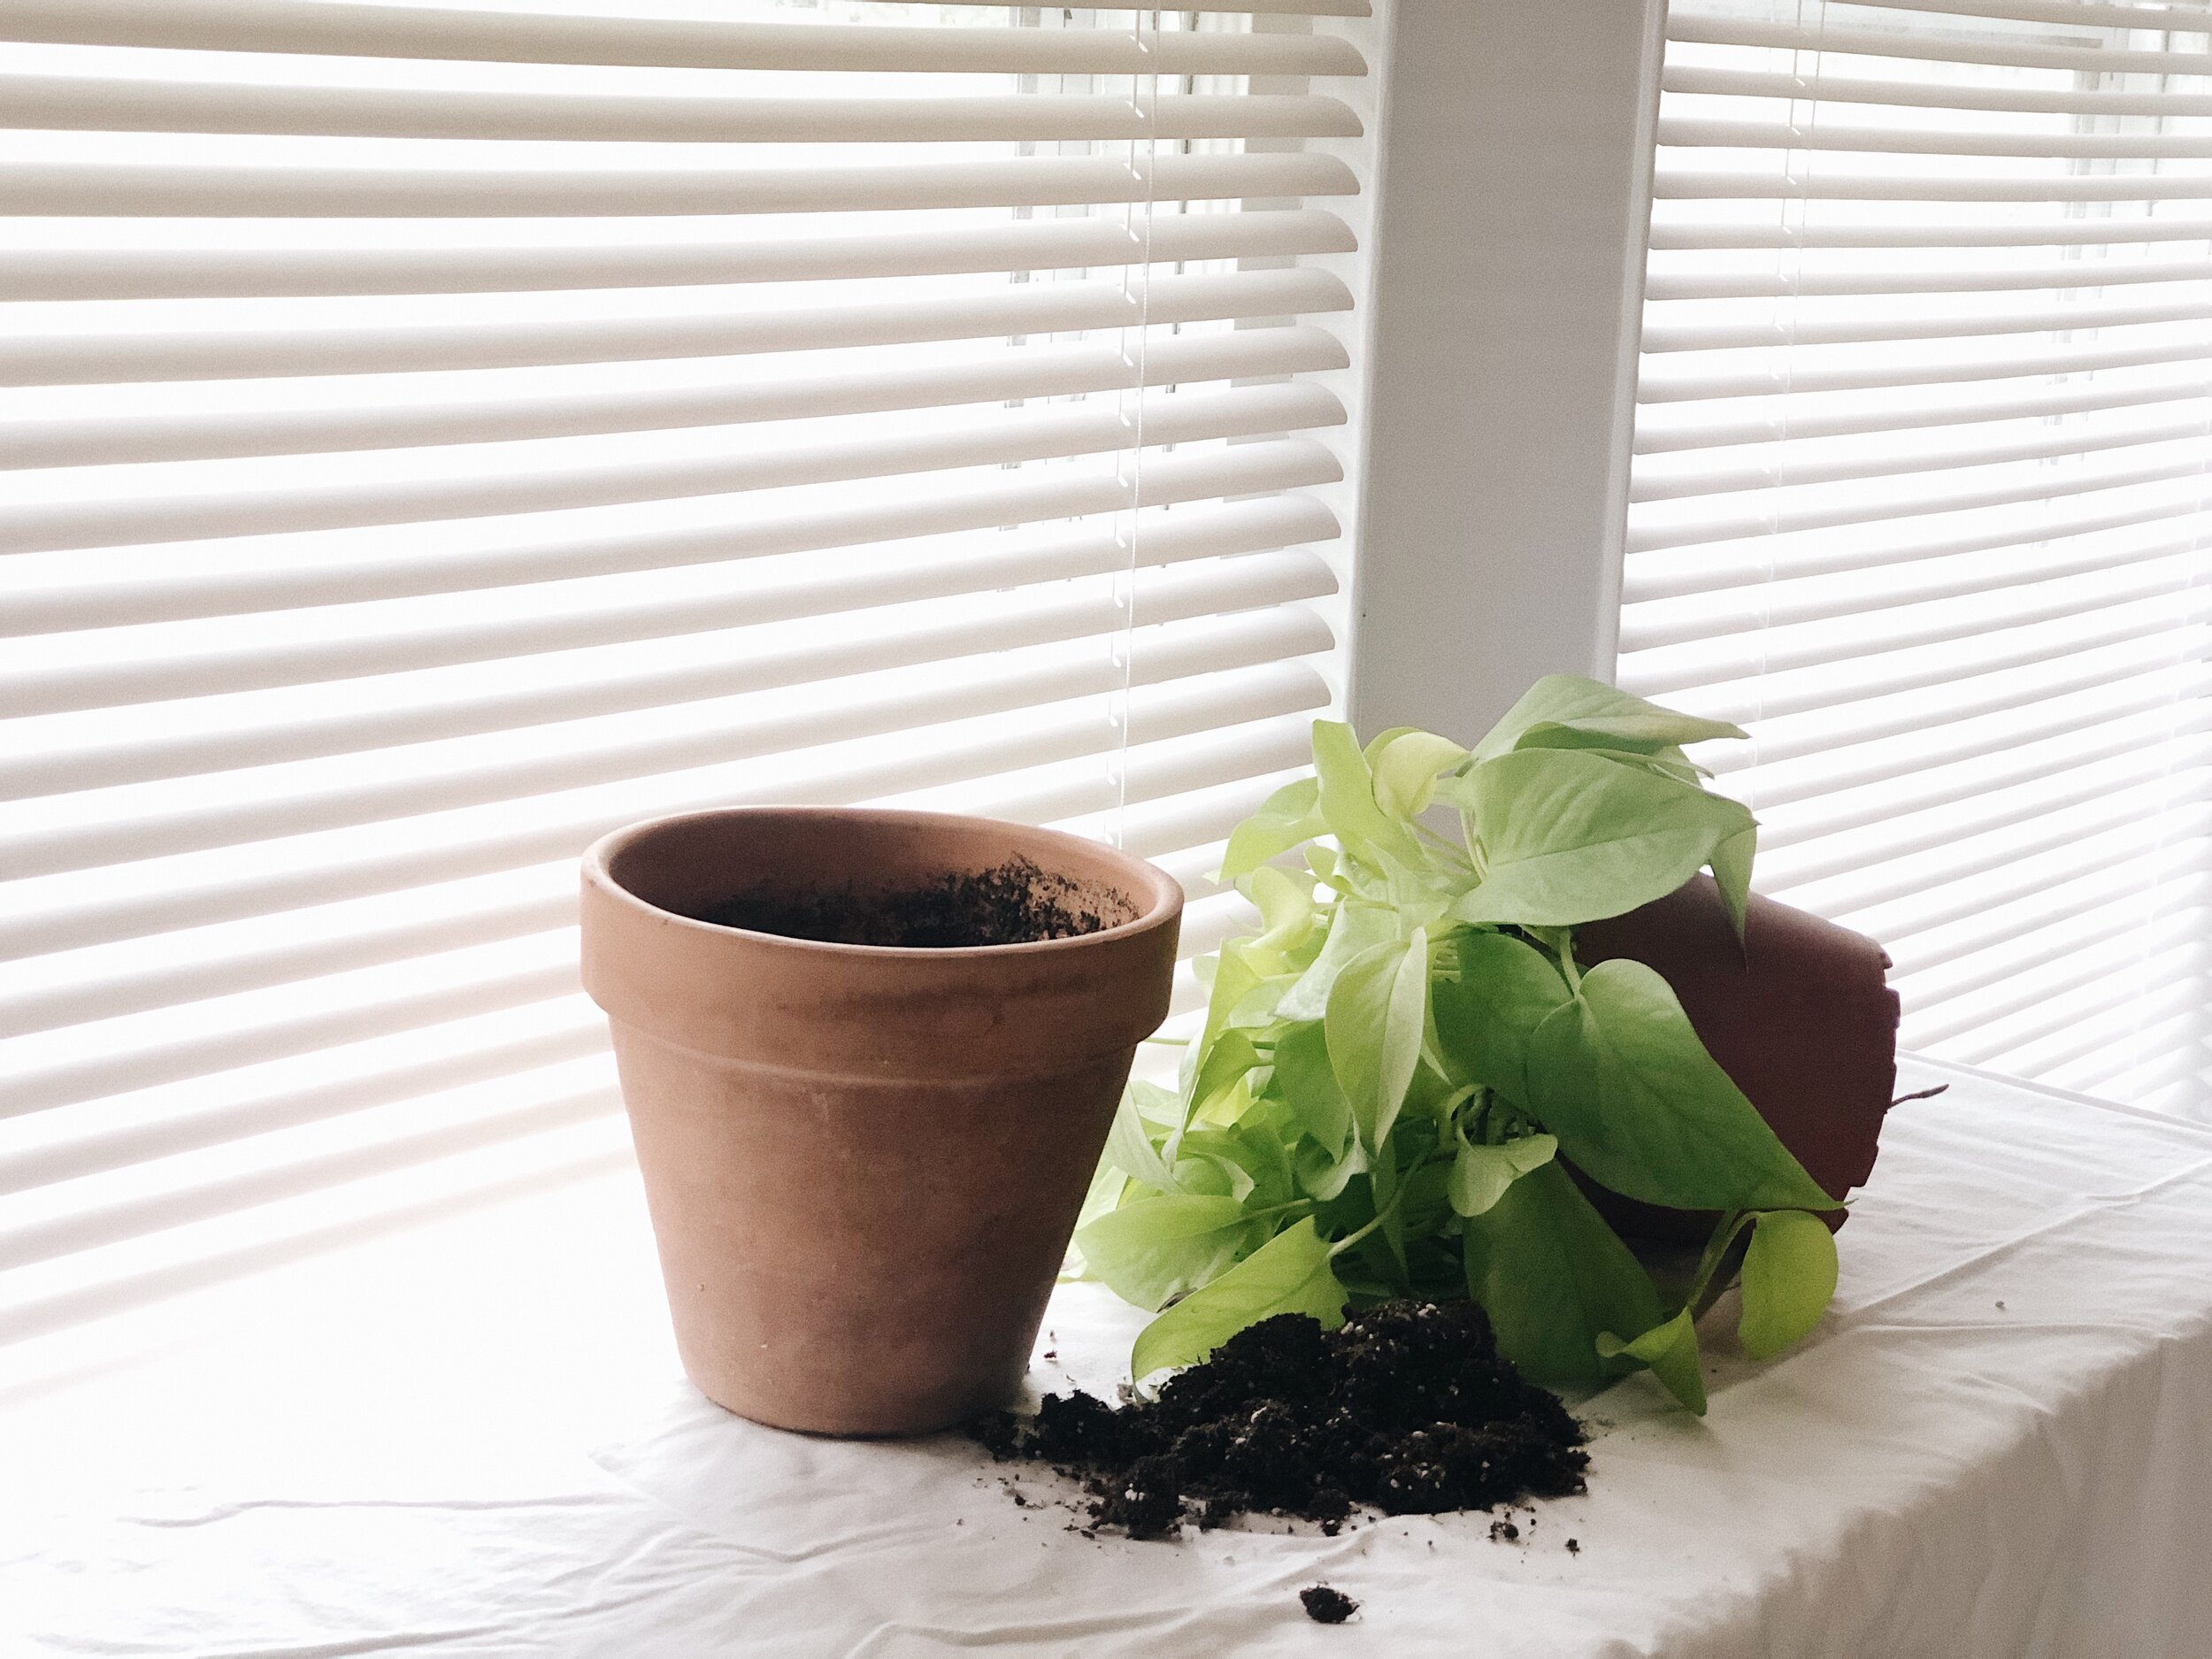
How many times have you looked at your houseplant and said, “You need something”, but aren’t sure what that something is? Odds are, you might need to repot your beautiful plant. Read all about how and why you need to repot your houseplant with this detailed post.
Items Needed
Pot with drainage hole that is 1 to 2 inches bigger (no bigger than 2)
Good quality indoor potting mix
Water
How to Repot Your Houseplant
1. Water your plant the day before, that way your soil and roots are easier to remove from the pot. It also helps reduce “shock” to your plant during transplant day
2. Gently pull out your plant from pot. Depending on it’s size, you may need to tilt the pot upside down, being careful not to drop it. You might need a friend for this depending on how big your pot is. If your plant is extremely root bound, you can take a knife and glide it around the inside of the pot to loosen the roots.
3. Once your plant is outside of its original pot, gently work your fingers along the roots of the plant. This is also where you would inspect your plant and cut off any brown or black roots caused by overwatering.
4. Fill the bottom of the pot with an inch of your indoor potting mix. Gently place your plant into the pot and fill the perimeter with soil.
5. Gently press your hand down on the soil once it has reached the top. This makes sure that all areas have been covered with soil and that there are no air pockets hiding.
6. Water lightly so that the soil is wet but not drenched.
*If your plant seems to be going through a period of “shock”, it’s perfectly normal. Give it about a week, and you’ll see that it will be thriving once again and more vibrant than before.
When To Repot
+You have plant babies. Over time, plant babies can tend to grow along with the mother plant. Which is GREAT! It means that your plant is thriving. But if your mother plant is competing for nutrients with the baby plants, it can stress the overall plant out.
+You have roots growing out the bottom of your pot. Congratulations, because this means it has been thriving, and just needs more room to grow, and a fresh repotting can do tremendous amounts of good for your plant.
+It just seems “blah”. No matter what you do, (i.e. watering correctly, correct sunlight, or even talking to it) it just seems to be a little down. It might need some fresh soil to provide it with more nutrients. It can’t survive on just that original batch of soil alone.
+You have to water more frequently. If your soil seems to be drying up quicker than before, it might be time to repot and give that plant some love. With better soil composition comes better water absorption, which means a much happier plant in return.
+Root rot. If your plant’s roots are turning black or brown, it’s definitely time to repot your plant. Along with repotting, cut off the damaged portion of your plant’s roots, and this will help save the entire plant from suffering the damage. Also, maybe lighten up on the watering once your plant has it’s new “home”.
Thank you so much for joining us here. For more information on what Garden Valley Farmers Market is about, you can visit us here. If you’re wanting to visit with us, come by any of our five North Carolina locations. If you’re wanting to follow along with us, you can do so either on our Facebook, Youtube, or our Instagram. And if you’re wanting to check out our other recipes and blog posts, or are needing more inspiration, follow us on our Pinterest. We’d love to have you join us in our journey of planting better, eating better, and living better.
Much love,
Your Garden Valley Farmers Market Team


